
How to Color Grade Video: A Step-by-Step Guide
Learn how to color grade video effectively with our practical guide, covering techniques, tools, and common pitfalls to avoid.
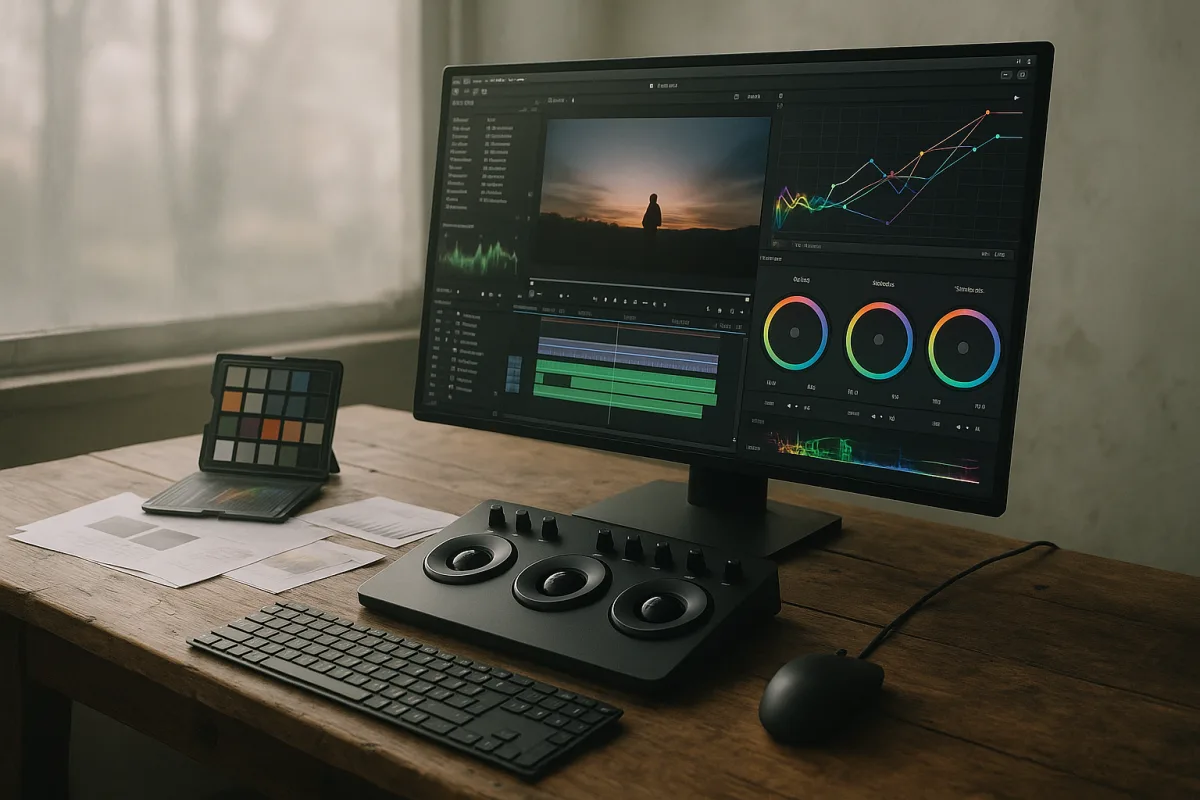
How to Color Grade Video: A Practical Guide to Enhancing Quality
Ah, color grading. It’s the digital equivalent of slapping a new coat of paint on a dilapidated shed. It can transform your footage from a murky puddle of gray into a vibrant masterpiece that even the most cynical critics would have trouble dismissing. But let’s be honest, color grading can be as perplexing as trying to decipher the inner workings of a British Leyland car. So, let’s roll up our sleeves and dive into the nitty-gritty of color grading video, ensuring you avoid the common pitfalls and elevate your footage to the next level.
Understanding What You're Dealing With
Before you even touch your editing software, it’s crucial to recognize the difference between color correction and color grading. Color correction is your bread and butter, the technical adjustments that ensure your footage looks natural. Think of it as fixing the lighting in a poorly lit room. You adjust brightness, contrast, and ensure skin tones resemble something vaguely human rather than an alien life form.
On the other hand, color grading is where the magic happens. This is your chance to put your artistic stamp on the video, creating mood and style. Are you aiming for that warm, nostalgic feel or something cold and clinical? You have the power to choose.
The Tools of the Trade
In the world of video editing, tools are everything. Adobe Premiere Pro offers two main options for color grading: the Lumetri Color Panel and the newly introduced Color Mode. While some users are rushing to embrace Color Mode for its bi-directional controls and real-time feedback, the Lumetri Color Panel remains a well-established favorite. It provides powerful features like Color Wheels, Curves, Color Match, and Comparison View, making it an invaluable asset for professional-grade color correction and grading.
However, it’s worth noting that user experiences with these tools can vary. Some might find Color Mode more intuitive, while others swear by the tried-and-true Lumetri Color Panel. Your best bet? Experiment with both and see which suits your workflow better.
The Color Grading Process
Now that you’re armed with the right tools, let’s break down the color grading process into manageable chunks.
1. Color Correction First
Before you unleash your inner artist, ensure you’ve done your color correction. If you skip this step, you’re essentially trying to polish a turd. Adjust the white balance first; daylight footage generally sits at around 5500K, while tungsten lighting is about 3200K. This tweak will make a world of difference in how your footage looks.
Next, check your ISO settings. For daylight, aim for an ISO between 100-400; indoors, you might want to bump that up a notch to 100-800. In low-light conditions, your ISO could stretch to 1600. Remember, skin tones should sit around 70 IRE for daylight and 55-65 IRE for tungsten lighting.
2. Get Your Monitor Right
Now, let’s talk about your monitor. If you’re using a screen that can’t accurately display colors, you might as well be editing with a potato. Opt for monitors that support a wide color gamut and ensure they’re calibrated regularly. The resolution and contrast ratio also play significant roles in how accurately you can gauge colors, so don’t skimp on this aspect.
3. Grading the Footage
Once your color correction is squared away, it’s time to unleash your creativity. This is where you can define the mood through color grading. Start with a basic LUT (Lookup Table) that complements your footage; the Kodak Kodachrome 64 or Portra 400 LUTs are popular choices for achieving pleasing skin tones.
But hold your horses! Don’t fall into the trap of over-saturating your footage. Overuse of saturation is a common mistake that can make your video look more like a cartoon than a cinematic experience. Aim for subtle enhancements rather than drastic changes.
4. Be Mindful of Shot Matching
One of the cardinal sins in color grading is ignoring shot matching. If you’ve got a variety of shots from different cameras or lighting conditions, make sure they look cohesive. This means adjusting colors and brightness levels to ensure that no single shot stands out like a sore thumb.
5. Final Touches
Before you call it a day, take a moment to review your work. Are the skin tones looking natural? Have you over-graded your footage? These are questions you should be asking yourself. Remember, effective color grading should enhance the story and not distract from it.
Common Pitfalls to Avoid
As with any craft, there are pitfalls to avoid in color grading:
- Skipping Color Correction: As mentioned, this will affect your entire project.
- Overusing Saturation: Less is often more in the world of color.
- Relying too Heavily on LUTs: While LUTs are useful, they should not replace your judgment.
- Neglecting Skin Tones: An over-processed skin tone can ruin even the best footage.
- Ignoring Shot Matching: Inconsistencies will undermine the professionalism of your video.
Time Investment
Color grading is not a quick task. For a 10-minute video, you’re looking at a time investment of anywhere between 8 to 15 hours, depending on the complexity of your project. Basic edits might take a mere 6 to 10 hours, while a polished product could stretch to 12 to 20 hours. Prepare to invest time if you want results that make the audience sit up and take notice.
Conclusion
Color grading might seem daunting at first, but with the right tools, techniques, and a bit of practice, you can elevate your video quality from mediocre to extraordinary. Whether you choose the Lumetri Color Panel or dive into the new Color Mode, just remember that color grading is as much about technical know-how as it is about artistic vision. So, roll up your sleeves, embrace the process, and soon enough, you’ll be crafting videos that pop with vibrancy and life. Just don’t forget to calibrate your monitor first, otherwise, you might end up with something that looks more like a bad watercolour than a cinematic triumph.
Frequently Asked Questions
What are the steps to color grade a video?
The color grading process can be broken down into several steps: First, perform color correction by adjusting white balance and ISO settings. Next, ensure your monitor is capable of displaying accurate colors. After that, apply color grading techniques to define the mood of your footage, starting with a basic LUT. Finally, review your work for natural skin tones and cohesive shot matching.
How do I use Premiere Pro for color grading?
In Adobe Premiere Pro, you can use either the Lumetri Color Panel or the new Color Mode for color grading. The Lumetri Color Panel offers features like Color Wheels and Curves, while Color Mode provides bi-directional controls and real-time feedback. Experiment with both tools to find which one best fits your workflow.
What tools are best for color grading video?
The best tools for color grading video in Adobe Premiere Pro include the Lumetri Color Panel and the new Color Mode. The Lumetri Color Panel is well-established and offers powerful features for professional-grade color correction and grading, while Color Mode is gaining popularity for its intuitive controls and real-time feedback.
Sources
- Premiere Color Mode. Color Grading. Reinvented for Video Editors
- Color grading overview in Premiere | Premiere
- Video color correction and color grading - Adobe
- GoPro Protune Settings Explained: Complete Guide | GoPro Remote
- Color Grading in Premiere Pro: Complete Guide for Video Editors - Coloracci
- Shooting Indoor Cinematic Video with Limited Light | Absoluts
- How long does it take to edit a YouTube video?
- How Long Does Video Editing Take? Real Timelines & Costs
- Video Editing Turnaround Times: What Is Normal in 2026
- Color correction vs. color grading
- What is colour grading? Everything you need to know
- Color Grading vs Color Correction: What's the Difference?
- Colour grading in videography: a practical guide
- CapCut Color Grading Tutorial: Pro Video Correction Tips
- Three Color Grading Common Mistakes Beginners Make | Artlist
- Color Grading Explained: A Practical Guide for Filmmakers | PP Vision
- Color Grading Premiere Pro: A Guide to Enhance Your Videos - GeekChamp
- 7 Common Premiere Pro Mistakes Beginners Make - Startupik | Startup magazine
- Kodak Kodachrome 64 Lightroom Preset - Presetpro.com
- Best Free LUTs for Color Grading in 2026 (Cinematic & Film)
- Custom LUTs Luminar and Luminar Flex | Skylum Blog
- モニターレスの“レンズ付きフィルム風”デジタルカメラ「RewindPix」 - ライブドアニュース
- Ultimate Skin Tone LUT Bundle
- Skintone Mastery LUTs | Luminar Marketplace
- SONY SLOG 3 LUTS - SKINTONE EDITION
- SONY SLOG 3 LUTS, SKINTONE EDITION by Alexandru Don | Professional Color Grading Presets | Resources
- Fix: Why is Camera Raw Displaying P3? +
- in monitor selection to assure that the selected monitor provides an adequate viewing angle without perceptible image change.
- Display evaluation for primary diagnosis using digital pathology - PMC
Related Articles
Fix Color Grading Mistakes: Tips for Accurate Video Grading
Learn how to fix color grading mistakes with tips on exposure, white balance, proxies, and shot matching for accurate video color correction.
Video Editing Techniques for Corporate Videos
Learn effective video editing techniques for corporate videos, including timelines, proxies, codecs, and color grading best practices.

Unlocking Hidden Insta360 App Features: A Comprehensive Tutorial
Discover hidden features in the Insta360 app version 2, including framing guides, proxy mode, navigation shortcuts, MultiView, photo-to-video conversion, color correction, and customizable export settings. Master the art of reframing shots with this detailed tutorial.
Edit Video for Social Media: Tips on Formats, Length & Color
Learn how to edit video for social media with tips on formats, length, proxies, and color grading for optimal engagement and platform compatibility.