
Fix Color Issues in Video: Causes and Practical Solutions
Learn how to fix color issues in video including banding, color casts, and export mismatches with expert tips on calibration and color spaces.
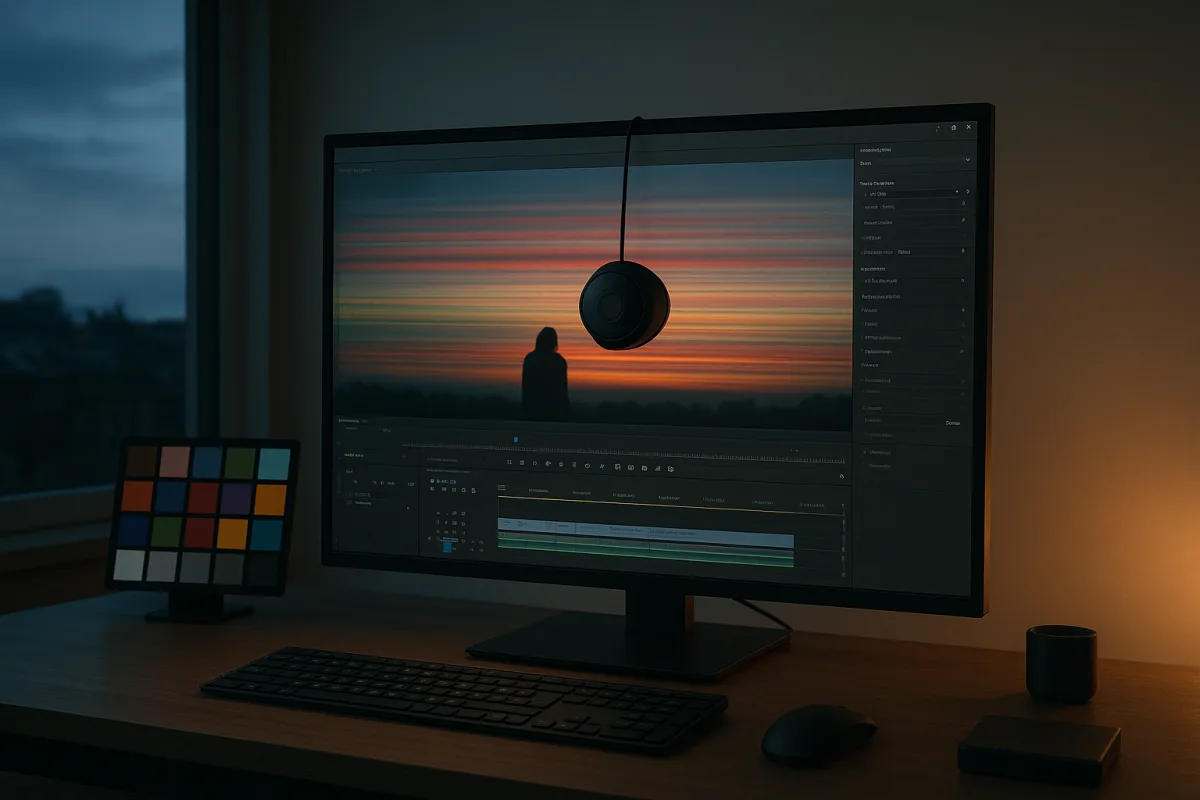
Identify the artifact before grading
The blue sky in an interview shot breaks into visible steps after you add contrast. Do not start by pushing saturation back down. That is usually banding, a precision problem that becomes obvious when a smooth tonal transition has too few recorded color values. [1]
Banding commonly comes from 8-bit footage and heavy compression. H.264 material is a frequent culprit because it is commonly 8-bit, uses 4:2:0 chroma subsampling, and compresses groups of frames together instead of storing every frame independently. [1][2][9]
A colored edge around text, hair, or a product against a contrasting background points somewhere else. Chroma bleeding is associated with 4:2:0 subsampling, which records less color detail than luminance detail and can smear color boundaries. [3]
A whole shot leaning orange, green, blue, or magenta is usually a white-balance issue from production. Fix that neutral error before trying to match shots, because every later contrast or saturation adjustment amplifies the cast. [4]
If the timeline looks right but the exported file shifts, desaturates, or changes contrast, suspect color management first. Editing in one color space and exporting in another without a proper conversion produces a mismatch that grading adjustments cannot reliably solve. [5]
We would classify the problem in this order: display, project color space, white balance, exposure and contrast, then isolated codec artifacts. That order prevents an editor from grading around a monitor error or baking a compensation into every clip.
Check the monitor and room first
A grade made on an uncalibrated display can look wrong everywhere else while still looking convincing at your desk. Set the monitor white point to D65, or 6500K, before judging neutral whites, skin tones, or whether two cameras match. [7]
For SDR broadcast work, calibrate to gamma 2.4 and 100 cd/m². Gamma 2.2 is associated with computer-screen viewing, so do not treat 2.2 and 2.4 as interchangeable defaults for every job. [7]
The room changes your perception too. Use 6500K bias lighting behind or around the monitor, with a color rendering index of at least 95, so warm household lamps or a blue window are not steering your eyes. [13][14]
Keep ambient brightness at roughly 10 to 20 percent of the monitor’s peak brightness. That reduces glare and helps avoid chromatic adaptation, where your vision quietly redefines what white looks like under the room’s prevailing light. [13][14]
Recalibrate monthly. Datacolor Spyder and X-Rite ColorMunki are calibration tools cited for this work, while some displays, including the BenQ PD2770U, offer integrated hardware calibration. [7]
Do this before rebuilding a grade that feels “off.” We would not spend an hour balancing camera angles until the monitor has a known white point, gamma target, and brightness target.
Confirm the project and export color spaces
Open the project settings and write down the working color space, then do the same for the delivery file. A Rec. 709 timeline, an sRGB computer display, and a Rec. 2020 export are not interchangeable labels. [5]
A mismatch can show up as a grade that looks washed out after export, blacks that open up unexpectedly, or saturation that changes on another display. The problem is the absent or incorrect conversion between spaces, not necessarily the correction work. [5]
Keep the timeline and intended SDR delivery path aligned where possible. When they must differ, apply the correct conversion deliberately during export instead of compensating by eye with contrast, saturation, or a curve adjustment. [5]
Review the exported file, not only the timeline image. If the export differs, compare the project’s working space and export settings before changing individual clips, because a global mismatch calls for one global fix. [5]
Do not assume a proxy has changed the color merely because the proxy looks different in the edit. The available guidance does not establish a general proxy-caused color failure, so check color-space handling and display calibration before rebuilding proxy media.
Neutralize white balance before matching shots
Find something that should be neutral in the frame, such as a white wall, gray object, or other reference element. Use it to remove the overall cast, then judge whether skin, wardrobe, and production design retain their intended color. [4]
Correct white balance before raising saturation. An orange or green cast can make a shot feel under-saturated or over-saturated even when saturation itself is not the underlying problem. [4]
Match the neutral balance across angles before chasing a stylized look. A warm scene can remain warm, but the cameras should agree on what is neutral before you choose how far the final grade bends from neutral.
Raw footage can also appear under-saturated when its calibration does not align with reference color bars. If flat-looking footage is the issue, confirm the intended technical interpretation before adding saturation that may later become excessive.
This is where manual work earns its time. A proper white-balance correction gives every downstream adjustment a stable base, while an automatic result can be fast but may not understand the intended mood of a scene. [11][12]
Protect gradients and fine color detail
An 8-bit, heavily compressed sky or wall has limited room for aggressive grading. Strong contrast, saturation, or selective color moves can expose the steps already present in the file, even if the original looked acceptable. [1][2]
Pull back the move that reveals the banding first. The fastest fix is often less aggressive contrast or saturation, because no grading control can restore tonal information that the codec did not retain. [1][2]
When you have a choice of edit media, favor a higher-quality intermediate for color-critical work. ProRes 422 and ProRes 422 HQ support 10-bit color and 4:2:2 chroma subsampling, providing smoother color handling than common 8-bit 4:2:0 H.264 workflows. [8]
Chroma bleeding needs the same restraint. A colored edge created by 4:2:0 sampling will not become pristine through saturation increases, and sharpening or selective color work can make the artifact more conspicuous. [3]
We would preserve the image before trying to make it dramatic. If a delivery codec has already damaged a gradient or edge, keep the correction controlled and avoid building a look that advertises the limitation.
Choose a codec that matches the stage of work
Use ProRes 422 or ProRes 422 HQ when the project needs repeated color work, smoother editing, and stronger color fidelity. Both formats offer 10-bit color and 4:2:2 chroma subsampling, which gives the grade more robust material to work from. [8]
H.264 remains suited to delivery and review, particularly at roughly 50 to 100 Mbps for 4K according to Nikon Middle East & Africa. Its typical 8-bit, 4:2:0, inter-frame design is efficient, but it is a poor place to discover how hard you can push a grade. [9]
H.265, also called HEVC, can support up to 10-bit and 4:2:2, improving on typical H.264 capability. It remains an inter-frame compressed format, so its theoretical support does not remove every editing or artifact concern. [9]
Make the approved color version from the highest-quality available source or edit master, then create the delivery encodes. Repeatedly re-editing and re-exporting a compressed H.264 file is a path toward visible damage, especially in gradients and saturated edges.
Correct the image in a repeatable order
Start with technical correction: white balance, then exposure and contrast, then saturation. This sequence keeps you from using saturation to conceal a cast or using contrast to compensate for a color-space or monitor problem. [4][5]
Next, match shots from the same scene. Compare neutral surfaces and overall color balance before applying a creative look, because a shared look will exaggerate differences between cameras if the base corrections do not align.
Then apply the creative grade. Manual grading remains necessary when the job depends on emotional tone, deliberate color relationships, or precise control over flawed footage that needs selective attention. [11][12]
In Adobe Premiere Pro, Auto Color provides a one-click starting correction. Use it when time is short, then inspect the result manually, especially for saturation, white balance, and consistency from shot to shot. [6]
DaVinci Resolve and Final Cut Pro require the same correction logic even when the interface differs: establish neutral balance, set tonal relationships, match shots, then build the creative grade. The order protects continuity across the cut.
We would use automatic correction to clear obvious first-pass problems, not to approve the final image. AI tools can over-saturate material and produce inconsistent results across displays, which is expensive to discover after review. [11][12]
Verify the exported file on the intended path
Export a short representative section before committing the entire timeline. Include a face, a saturated object, a dark shot, and a smooth gradient, because those images reveal casts, clipping, banding, and color-space mismatches quickly.
Compare that file against the timeline on the calibrated monitor. If the export changes, revisit color-space conversion and output settings first, since a project-wide mismatch is a more likely cause than every shot suddenly needing new corrections. [5]
Check the delivery encode for the artifacts its codec can reveal. H.264’s common 8-bit 4:2:0 structure can expose banding and chroma limitations that were less visible in a 10-bit 4:2:2 editing master. [1][3][8][9]
Keep the approved master separate from delivery versions. The master is your stable graded reference, while H.264 or H.265 files are distribution copies optimized for size, playback, and the requirements of the destination. [8][9]
Frequently Asked Questions
How do I fix color banding in video footage?
Color banding often results from low bit depth footage, such as 8-bit H.264 files, and heavy compression. To fix banding, avoid pushing saturation or contrast too far, as this makes the problem more visible. Using higher bit depth codecs like ProRes 422 or 422 HQ during editing can reduce banding, and applying noise or dithering can help smooth tonal transitions.
What causes color casts in video and how to correct them?
Color casts usually stem from incorrect white balance settings during production. To correct them, first fix the neutral white balance error before adjusting contrast or saturation, as these adjustments can amplify the cast. Manual correction is preferred, and automatic tools should be considered only a starting point.
Why does my exported video look different in color?
Color shifts after export often arise from color space mismatches between the editing timeline and export settings. Editing in one color space and exporting in another without proper conversion causes desaturation or contrast changes that grading cannot reliably fix. Consistent color spaces throughout the workflow and deliberate conversion when needed prevent this issue.
How do I calibrate my monitor for accurate video color grading?
Set your monitor’s white point to D65 (6500K), brightness to 100 cd/m², and gamma to 2.4 for SDR broadcast grading. Control your room lighting by using 6500K bias lighting with a high color rendering index (CRI ≥ 95) and keep ambient brightness at about 10 to 20 percent of the monitor’s peak brightness. Regularly recalibrate your monitor monthly using tools like Datacolor Spyder or X-Rite ColorMunki.
What color spaces should I use for video editing and export?
Keep the color space consistent from editing through export to avoid mismatches. When your project and delivery color spaces differ, convert deliberately and properly. Using higher fidelity codecs such as ProRes 422 or 422 HQ during editing helps maintain color accuracy before creating delivery files in formats like H.264 or H.265.
How we researched this
This article was assembled from 15 cited references.
Nothing here is based on hands-on testing. Where a figure or finding appears, it belongs to the source cited beside it, and the writing says so rather than implying otherwise. Every source is listed below so you can check it.
Sources
- What Is Color Banding in Video? Causes and Fixes on Mac
- Learn how to handle banding | Neat Blog
- Chroma Bleeding & Color Artifacts: Causes, Fixes, Metrics
- How to Fix Color Cast in Video (Manual & AI Methods)
- Why Does My Color Grade Look Different After Exporting (October 2026) Complete Guide
- Auto Color Correct in Premiere Pro (One Click), Adobe Basics
- Understanding how to calibrate your monitor | Adobe
- Video Codecs Explained: H.264, H.265, ProRes, and RAW - Camera HiTech
- 4K Video Bitrate and Codecs: What Actually Matters | Nikon Middle East & Africa
- Editing Codecs: ProRes vs DNxHR vs H.264 and HEVC | CineMath
- AI in Post-Production: How Modern Editors Work Faster (2026 Guide) | ShotAI
- AI-Powered Color Grading Tools: What's Available in 2026 | Filmcane Blog
- Computer Color Management 101: How to Set up Color Profiles for Creative Work | Monitoraholic
- 10 Best Ambient Bias Lighting for Editing Rooms (November 2026) Top Reviews
- Adjust color and contrast in Premiere Pro
Related Articles
Fix Color Grading Mistakes: Tips for Accurate Video Grading
Learn how to fix color grading mistakes with tips on exposure, white balance, proxies, and shot matching for accurate video color correction.
How to Color Grade Video: A Step-by-Step Guide
Learn how to color grade video effectively with our practical guide, covering techniques, tools, and common pitfalls to avoid.
Video Editing Delivery Specifications: Avoid Setup Mistakes
Learn how video editing delivery specifications prevent common setup errors and improve proxies, frame rates, color, and export workflows.
Edit Video for Promotional Content
Learn how to edit video for promotional content with tips on timelines, proxies, captions, and platform-specific formats for effective marketing videos.