Fix Audio Issues in Video: Tips for Better Sound Quality
Learn how to fix audio issues in video with tips on sync, noise reduction, and audio repair for clearer, professional sound in your edits.
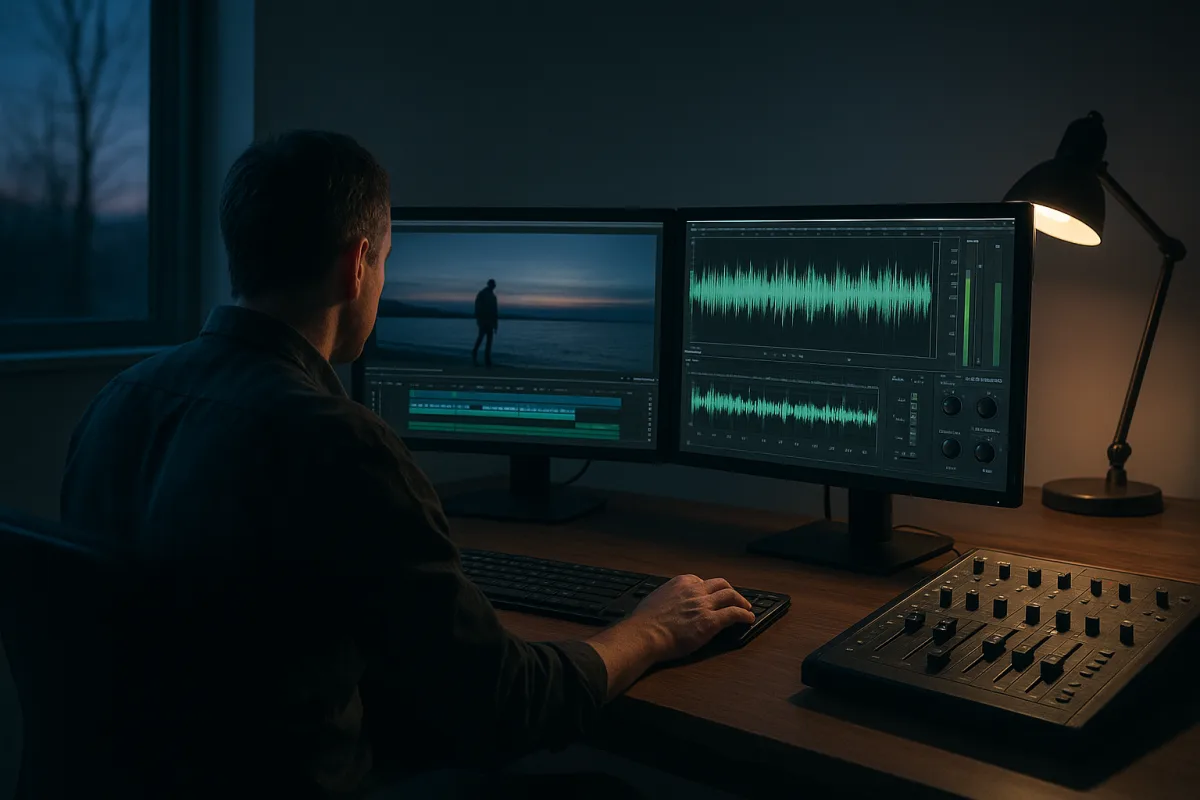
Start before you cut: get the session format right
The first audio problem often arrives before the edit: a camera clip is 48 kHz, a screen recording is 44.1 kHz, and a music track comes from somewhere else entirely. Get them consistent before you start chasing apparent sync errors.
For video work, use a 48 kHz sample rate and 24-bit audio where your recorder, NLE and delivery format support it. AudioUtils identifies 48 kHz as the standard for DVD, Blu-ray, broadcast and streaming workflows, while 24-bit gives more practical headroom during recording and gain adjustment. [7]
This is not a claim that 44.1 kHz audio is unusable. It is a warning about workflow friction. A 44.1 kHz music file can be resampled cleanly, but do that deliberately in the project or audio application, not repeatedly through exports.
Check the NLE sequence settings, project audio settings and clip properties. Then inspect the export preset. An edit can contain 48 kHz source clips and still leave through a 44.1 kHz export preset copied from an old social job.
If you are cutting a multicamera interview, establish one reference audio track before building the edit. Camera scratch tracks are useful for sync, but they should not quietly become the master simply because they landed first in the timeline.
The research does not provide evidence that editing proxies, video codecs or colour grading intrinsically harm audio quality. Do not burn an afternoon rebuilding proxies because dialogue sounds thin. First check the source clip, track routing, gain, effects bypass and export settings.
Fix levels and edit damage before repair
Before opening a denoiser, listen for problems that are not noise: a clipped preamp, an abrupt edit, a dropped channel, a lavalier rubbing against fabric, or dialogue buried under music. Noise reduction cannot reconstruct a recording that was distorted at capture.
Start with clip gain, not the master fader. Bring wildly uneven dialogue clips into a sensible working range, then use track automation for editorial changes. That stops compressors and restoration plugins reacting very differently from line to line.
Listen through every dialogue cut with headphones. A cut can be visually invisible while carrying a room-tone jump, a breath cut in half, or a different microphone tone. The hour-saving fix is usually a few frames of alternate room tone, not another plugin.
When a cut joins two takes, lay in matching room tone under the gap and add short fades at the edit. Do not assume a crossfade cures every discontinuity. If the ambience differs, the fade simply makes the difference move around.
Keep music and effects muted while you repair speech. Dialogue problems hide under a full mix, then reappear after a client asks for captions, a social cut, a language version or a quieter music pass.
Measure the noise before trying to remove it
A noise floor is a level, not merely a feeling. In digital audio it is commonly expressed in dBFS, with professional equipment often reaching roughly -120 to -130 dBFS and consumer equipment more commonly around -70 to -85 dBFS. [8][9]
Those figures give you context, not a mandatory target. If speech is clear and a low air-conditioning bed disappears beneath the programme, aggressive restoration can make the result worse than leaving it alone.
Find a section containing only the unwanted sound, such as room hiss, computer fan or HVAC. Use that as a noise profile if your tool requires one, then preview reduction against consonants, breaths and pauses, not only a loud sentence.
WefixSound and Riverside both caution that noise reduction is a balance between attenuation and artifacts. Typical reduction passes are around 6 to 12 dB, with sensitivity settings varying across a 0 to 24 range and frequency smoothing at one or more bands. [8][9]
A published Audacity-style example aiming for a -60 dB RMS noise floor uses 48 dB reduction, sensitivity 10 and two smoothing bands. Treat that as a diagnostic example, not a preset for spoken-word footage. [8]
Forty-eight dB of removal is extreme enough to damage dialogue in many recordings. If a light pass does not solve the issue, try two restrained passes, replace a brief bad word from another take, or accept some ambience under music.
Stop when voices start to sound phasey, chirpy, lisped or unnaturally still between words. Those are classic signs that the denoiser is treating parts of speech as noise. The goal is intelligibility and continuity, not a mathematically empty waveform.
Choose restoration software by the job, not by the logo
For detailed audio repair, iZotope RX 12 and Acon Digital Acoustica 8 are the leading professional-oriented options named in the research, both using machine-learning-assisted features. MusicRadar described Acoustica 8 as Acon Digital’s most ambitious release. [1][3]
iZotope RX 12 is sold as a one-time purchase in three tiers: Elements at $99, Standard at $399 and Advanced at $1,399. Elements suits occasional basic cleanup, while Standard and Advanced make more sense for editors who need deeper repair options regularly. [1][6]
Acon Digital Acoustica 8 is also a perpetual-license option. Standard is £119 or $149, Premium is £239 or $299, and Ultimate is £359 or $499. The lower edition suits straightforward editing and repair, while the higher editions suit more demanding post-production work. [3][6]
I have not tested these products, and the research found no direct comparative benchmark proving that one removes more noise or preserves more dialogue than another. Choose based on the specific repair modules you need, your host compatibility and whether the higher tier saves enough billable time.
Waves Clarity Vx is the option to consider when you need real-time noise reduction as a plugin inside an editing or mixing workflow. Audiartist lists it among current repair tools, but the research brief supplies neither a current price nor a cross-tool performance comparison. [1]
Real-time processing suits fast editorial decisions, especially when you need to hear a cleaner working track while cutting. It is not proof that the plugin should be printed destructively to every clip. Keep the original production audio available.
Audacity 4 is the free, open-source alternative. DigiLog reports significant interface and feature upgrades, including AI-related capabilities, making it a practical option for isolated repairs when a paid restoration suite is not justified. [4]
Descript is an AI-powered subscription tool starting at $24 per month. It suits transcript-led editing and quick speech cleanup workflows, particularly where the edit itself is being made from spoken words rather than a conventional audio timeline. [5][6]
For damaged video files rather than merely bad sound, Stellar Repair for Video has annual subscriptions from $49.99 to $69.99. That is a file-repair category, not a substitute for dialogue denoising, EQ or mixing. [12]
Movavi Video Editor 2026 costs $23.95 per month or $99.95 as a one-time purchase, according to Digital Camera World. It suits budget-conscious general video editing, but the research does not establish it as a specialist audio-restoration replacement. [11]
Adobe Premiere Elements 2026 is roughly $99.99 for a three-year licence. It suits simpler consumer editing projects where basic audio correction is enough, rather than sessions requiring forensic repair or detailed loudness delivery. [6]
Correct sync while the edit is still flexible
Sync is easiest to fix before you have built titles, effects, captions and a dozen versions. Use a clear transient, such as a clap, plosive or slate, to align the external recording to the camera waveform.
Then check sync at the beginning, middle and end of a long recording. If it starts aligned but drifts later, you may be dealing with different clock behaviour or an incorrect interpretation of the source audio, not a simple offset.
ITU-R BT.1359-1 places detectability thresholds above 45 ms when audio leads picture and above 125 ms when audio lags. Its acceptability thresholds are above 90 ms lead and 185 ms lag, but professional delivery should aim tighter. [10]
Keep audio and picture within 40 ms when possible. That target leaves margin before viewers begin noticing a mismatch, particularly on close-up dialogue where lip movement makes errors more obvious. [10]
The research found no explicit evidence quantifying latency introduced by individual noise-reduction plugins. Therefore, do not assume a plugin is sync-safe or sync-breaking. Bypass it, compare against the untreated track and inspect the final export.
If the external audio is clean but drifts, cut and realign it at natural pauses rather than applying random global speed changes. If it is a known sample-rate interpretation issue, correct that once at the clip or project level and recheck the full duration.
Mix for the destination, then verify the export
A timeline peak meter is not a delivery measurement. Loudness standards use integrated programme loudness and true peak, so a mix can avoid clipping while still being too loud or too quiet for its destination.
For European broadcast work, EBU R128 specifies -23 LUFS integrated loudness, a -1 dBTP true-peak ceiling and a loudness range of 7 to 15 LU. [7]
For US television, ATSC A/85 and the CALM Act framework target -24 LKFS integrated loudness with a -1 dBTP true-peak ceiling. LKFS and LUFS are closely related loudness measures, but use the delivery specification your client supplies. [7]
Common streaming reference targets are -14 LUFS for Spotify and YouTube, and -16 LUFS for Apple Music, each with a -1 dBTP ceiling in the research brief. Those are platform-oriented targets, not a reason to force every film, advert or broadcast master into one number. [7]
This matters more for advertising now. The research notes a July 2026 ATSC update extending loudness rules to streaming advertisements, while California Senate Bill 576 is identified as an October 2026 regulatory development. As of 28 September 2026, that October date is still prospective.
Export a short representative section, then measure the exported file, not only the timeline. That catches an overlooked limiter, an incorrect channel mapping or an export preset that changed audio settings after you had already signed off the mix.
Frequently Asked Questions
How do I fix audio sync issues in video editing?
To avoid sync problems, set all production recordings and sequences to a consistent 48 kHz sample rate before editing. Keep dialogue within 40 ms of picture to prevent noticeable lip-sync errors. Establish one reference audio track in multicamera interviews and check sequence and export settings carefully to avoid mismatched sample rates causing drift.
What is the best way to reduce noise in video audio?
Measure the noise floor first by finding a section with only unwanted sound to create a noise profile for your reduction tool. Apply noise reduction cautiously, typically around 6 to 12 dB, and preview the effect on consonants and breaths to avoid artifacts like phasey or unnatural voices. Use multiple light passes rather than one aggressive pass to maintain intelligibility.
How can I prevent audio quality loss during video editing?
Start by fixing clip gain, bad edits, and sync issues before applying noise reduction. Use 48 kHz and 24-bit audio settings throughout the project to maintain quality and avoid resampling artifacts. Check source clips, track routing, gain, effects bypass, and export presets before assuming proxies or codecs caused audio faults.
Which software is best for repairing audio in video?
Leading professional tools mentioned include iZotope RX 12 and Acon Digital Acoustica 8, both featuring machine-learning-assisted repair functions. Other notable options are Waves Clarity Vx for real-time noise reduction, Audacity 4 as a free open-source choice, and Descript with AI-powered editing. Choose software based on the specific repair job rather than brand alone.
How do I set the correct audio sample rate for video projects?
Use a 48 kHz sample rate and 24-bit depth for all recordings, sequences, and exports in video projects. This standard is widely accepted for DVD, Blu-ray, broadcast, and streaming platforms, ensuring compatibility and reducing workflow friction. Avoid mixing 44.1 kHz clips without deliberate resampling to prevent sync and quality issues.
How we researched this
This article was assembled from 12 cited references.
Nothing here is based on hands-on testing. Where a figure or finding appears, it belongs to the source cited beside it, and the writing says so rather than implying otherwise. Every source is listed below so you can check it.
Sources
- Best Audio Repair and Noise Reduction Plugins in 2026 | Audiartist
- Audio editing software Computer Software Sound Editor Digital audio workstation, Reflectors transparent background PNG clipart | HiClipart
- Acon Digital's machine learning-powered Acoustica 8 audio editor is the company's "most ambitious release to date"
- Audacity 4 即將登場!免費音訊編輯神器大改造,新介面更順手、AI 功能超實用 - DigiLog 聲響實驗室
- 6 Best Sound and Voice Recording Software for Mac (Free Incl.)
- Best Audio Editing Software in 2026: 8 Tools Compared | Dupple
- Audio Formats for Video Editors | AudioUtils
- How to Remove Background Noise from Audio (Real Guide, Not Clickbait) | WefixSound
- Noise Reduction: What It Is & Practical Tips | Riverside
- Lip-sync
- Movavi Video Editor 2026: An affordable and feature-packed non-linear video editor
- Stellar Repair for Video Pricing 2026
Related Articles
Common Mistakes in Video Editing
Learn common mistakes in video editing including timeline setup, frame rate mismatches, and timecode errors to improve your post-production workflow.
How to Sync Audio and Video: Essential Post-Production Tips
Learn how to sync audio and video accurately with tips on frame rates, timecode, and troubleshooting common sync issues in post-production.
Copyright Issues in Video Editing
Learn how to handle copyright issues in video editing with tips on clearance, licensing, fair use, and rights management before final export.
Video Editing Techniques for Storytelling: Pacing & Rhythm
Learn video editing techniques for storytelling, focusing on pacing, shot length, and rhythm to enhance narrative impact.