
Edit Video for YouTube: Timeline, Codecs, Proxies & Color
Learn how to edit video for YouTube with the right timeline, proxies, codecs, and color settings for optimal upload quality.
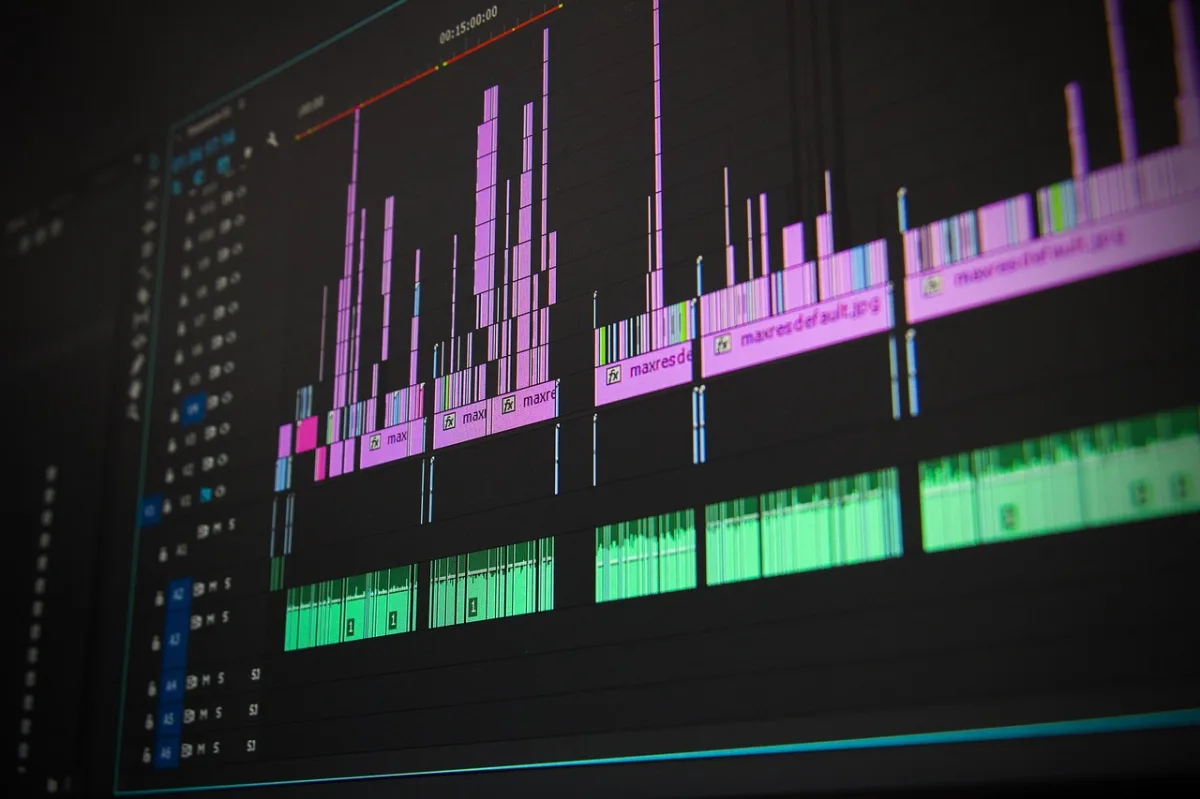
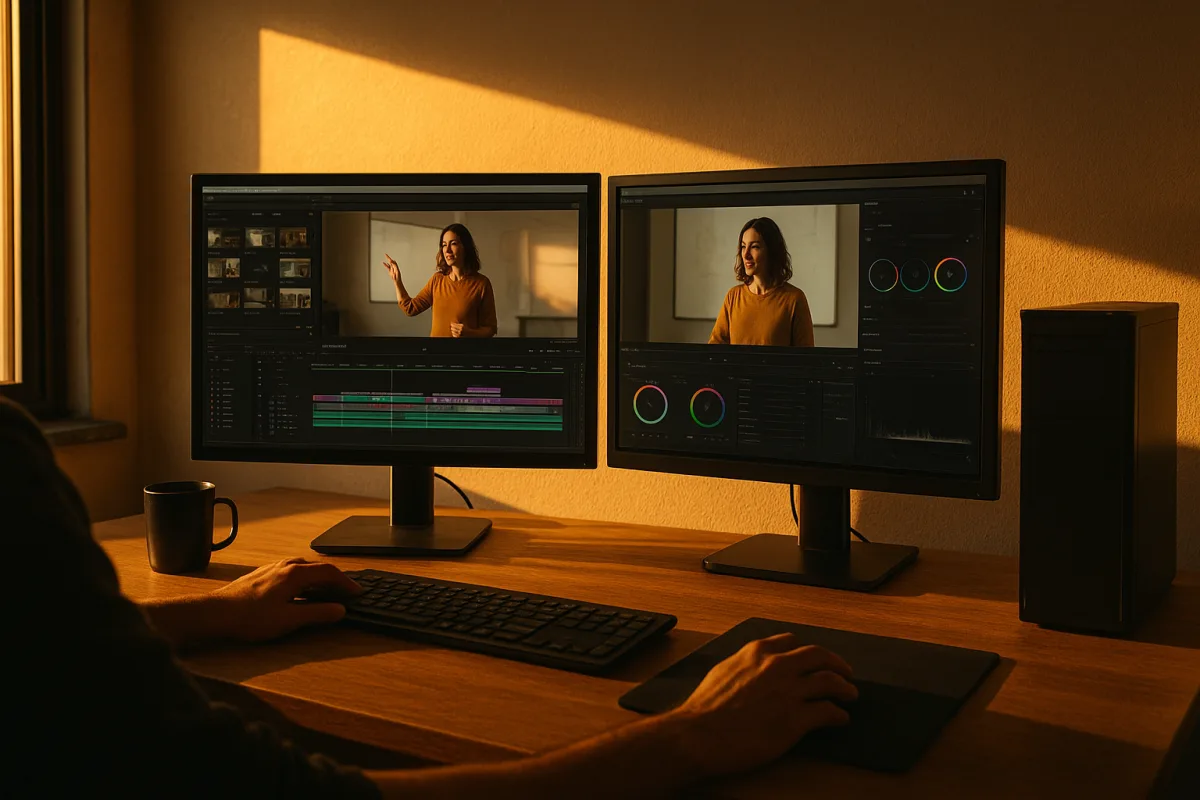
Photo: Recklessstudios via Pixabay
Set the timeline to the camera footage
A 4K 60 fps clip dropped into a 24 fps timeline is where many YouTube exports begin to go wrong. The motion may look acceptable while you cut, but the timeline has already forced a frame-rate decision that can carry into the upload.
Set the timeline resolution and frame rate to match the primary footage you recorded. YouTube supports common delivery rates including 24, 25, 30, 48, 50, and 60 fps, and recommends uploading at the same frame rate used during recording. [14]
If the project mixes frame rates, pick the rate that matches the material carrying the edit. A 60 fps gameplay or action project belongs on a 60 fps timeline; a 24 fps interview-led piece should stay 24 fps unless the footage itself demands another choice.
Do not convert frame rate just because a higher number sounds better for YouTube. Frame interpolation, duplicate frames, and uneven cadence can all become more visible after the platform encodes the file again. Keep the motion decision in the edit, not at upload.
Convert interlaced footage before editing
1080i60 footage needs attention before it reaches the export page. Interlaced video contains alternating fields rather than complete progressive frames, and YouTube processing handles it poorly compared with a properly deinterlaced progressive master. [14]
Convert 1080i60 to 1080p30 before upload, using your NLE’s deinterlacing controls or a dedicated transcode. Check the result around movement, fine patterns, and titles, where poor deinterlacing can leave combing or softened edges.
Build the timeline around the progressive result. Do not export an interlaced master and expect YouTube to make the conversion cleanly, particularly when the footage includes fast pans, sports, handheld camera work, or scrolling graphics.
Make proxy files before the timeline fights back
Once 4K camera originals start stuttering during playback, stop lowering playback quality one more notch and make proxies. Proxy files are smaller, editing-friendly copies that preserve the timing and framing of the originals while reducing decode and storage pressure. [3]
For 4K originals, a common proxy target is 1920 by 1080. Use an edit-friendly codec such as ProRes 422 Proxy or DNxHR LB, and match the source frame rate so cuts, speed changes, captions, and sync remain accurate. [3][5]
This is workflow advice, not a YouTube upload requirement. YouTube has not published a proxy workflow, but proxy editing is widely used for high-resolution projects because it keeps the edit responsive without asking you to compromise the final export. [3][6]
Relink or switch back to full-resolution originals before final export. Then inspect a few demanding shots at full resolution: a wide textured scene, a noisy low-light shot, a fast pan, and any graphic with thin lines. Those are the shots YouTube compression will punish first.
Put storage and RAM where the edit needs them
A proxy workflow helps, but it cannot rescue a system that is constantly waiting on slow media. For smooth 4K editing, guidance aimed at current editing systems recommends at least 32GB of RAM and NVMe SSD storage. [8]
Put active media, proxies, cache files, and exports on fast storage where possible. The aim is not a premium workstation for its own sake. It is to prevent dropped playback frames and stalled renders from turning every trim into a pause.
If you must prioritize one upgrade, we would start with the storage path holding your media and cache, then address RAM. A timeline that responds immediately lets you judge rhythm and timing properly, which matters more than a cleaner-looking interface preview.
Keep YouTube’s standard frame shapes
YouTube accepts resolutions from 240p through 8K, including vertical and square uploads. Standard 16:9 remains the safest shape for conventional long-form video, with common delivery sizes including 1920 by 1080, 3840 by 2160, and 7680 by 4320. [14]
Export at the same standard resolution used by the finished timeline when possible. Non-standard frame sizes can be downscaled during processing, reducing detail before viewers see the file. If a project must live inside a 16:9 program, letterbox it deliberately. [14]
Vertical and square formats are accepted, so do not stretch or crop a project into 16:9 only to follow an old template. Frame the edit for its intended shape, then export that shape cleanly at its native resolution. [14]
Avoid a custom resolution merely to save a few pixels or hit an unusual source dimension. You are giving YouTube another conversion to solve, and conversion steps are where sharp graphics, fine textures, and readable text often lose ground.
Grade SDR and HDR as separate deliveries
An SDR timeline should be graded and exported in BT.709. That is YouTube’s recommended color space for SDR uploads, and it gives the platform a defined target for the picture you approved in the edit. [14]
HDR requires a separate decision before you start grading. YouTube identifies Rec. 2020 with either PQ or HLG transfer functions for HDR, and HDR uploads need compatible 10-bit-capable encoding plus correct metadata. [14]
Do not label an SDR grade as HDR to chase a brighter image. HDR is a capture-to-delivery workflow, with different color space, transfer function, codec, and bitrate needs. A mismatch can produce washed-out color, crushed shadows, or incorrect contrast after processing.
For an SDR project, keep the export in BT.709 from timeline through render. For HDR, verify that the timeline, grading pipeline, and export all use the same HDR standard before committing to the lengthy upload and processing cycle.
Choose the codec for the version you are delivering
For a standard SDR upload, use an MP4 container with H.264 High Profile video. YouTube’s recommended settings include progressive scan, 4:2:0 chroma subsampling, CABAC enabled, two B-frames, and a closed GOP length of half the frame rate. [14]
That means a 24 fps export uses a 12-frame closed GOP, while a 60 fps export uses a 30-frame closed GOP. These are delivery settings, not creative choices, and they give YouTube a conventional, compatible file to ingest. [14]
Place the MP4 moov atom at the beginning of the file for faster playback startup. This is often called fast start or web optimization in export dialogs, and it is a small box worth checking before you queue a long upload. [14]
HDR is the exception to the H.264 default. Use VP9 Profile 2, AV1, or HEVC/H.265 for HDR, because these codecs support the 10-bit encoding and HDR metadata the format needs. [14]
Set bitrate for the image, not the upload bar
For SDR at standard frame rates, YouTube recommends 8 Mbps for 1080p, 35 to 45 Mbps for 4K, and 80 to 160 Mbps for 8K. Higher frame-rate uploads require higher bitrates. [14]
For 4K HDR at a standard frame rate, the recommended range rises to 44 to 56 Mbps. HDR is not supported below 480p, so there is no point building a low-resolution HDR export preset for YouTube. [14]
YouTube says there is no required bitrate limit. Third-party export guidance often recommends uploading 20 to 50 percent above YouTube’s stated minimum targets to retain more information before YouTube recompresses the file, though that headroom is not official policy. [2][14]
We would try modest headroom first for a detailed 4K upload, especially one with grain, foliage, water, smoke, confetti, or fast camera movement. Do not confuse a larger file with an automatic quality fix, because YouTube will still create its own streaming encodes.
Finish audio at 48 kHz
Set the export audio to 48 kHz. YouTube recommends AAC-LC, Opus, or Eclipsa Audio, with stereo or 5.1-channel delivery supported. [14]
AAC-LC is the straightforward choice for most edited YouTube work because it sits comfortably in the standard MP4 workflow. Keep stereo projects stereo unless you have built, monitored, and approved an actual 5.1 mix.
Check the final mix after the picture lock, not only during editing. A codec or container change can expose a routing error, a missing channel, or an export preset that reverted to an unwanted sample rate.
Check the master before uploading
Watch the exported file locally from beginning to end, then spot-check it at full resolution. Look closely at titles, skin tones, dark gradients, noisy shots, dissolves, rapid motion, and any section that uses speed effects or stabilization.
Confirm resolution, frame rate, progressive scan, codec, bitrate, color space, and audio settings before upload. Common YouTube failures come from the wrong export preset, an accidental frame-rate conversion, interlaced delivery, insufficient bitrate, or an SDR and HDR color mismatch. [7][12][14]
Use H.264 MP4, BT.709, and 48 kHz AAC-LC as your dependable SDR baseline. If the project is true HDR, switch the whole delivery chain to Rec. 2020 PQ or HLG and a compatible 10-bit codec, then give the upload the higher bitrate it requires. [14]
Frequently Asked Questions
How do I set the timeline for editing videos for YouTube?
Set your timeline resolution and frame rate to match the primary footage you recorded. YouTube supports common frame rates like 24, 25, 30, 48, 50, and 60 fps and recommends uploading at the same frame rate used during recording. Avoid converting frame rates just because a higher number seems better, as this can cause motion issues after YouTube re-encodes the video.
What codec should I use to export videos for YouTube?
For standard dynamic range (SDR) videos, export using the H.264 codec in an MP4 container with AAC-LC audio at 48 kHz. For high dynamic range (HDR) videos, use a 10-bit-capable codec such as VP9 Profile 2, AV1, or HEVC/H.265 to support HDR metadata and better color depth.
How do proxies help when editing 4K videos for YouTube?
Proxies are smaller, easier-to-edit copies of your original 4K footage that reduce playback stuttering and improve editing responsiveness. Typically, proxies are 1920 by 1080 resolution using edit-friendly codecs like ProRes 422 Proxy or DNxHR LB, with the same frame rate as the originals. Before exporting, relink to the full-resolution camera originals to ensure final quality.
What color space should I use for YouTube video uploads?
Deliver SDR videos in the BT.709 color space and HDR videos in Rec. 2020 with PQ or HLG transfer functions. Using the correct color space prevents unwanted changes to the picture before YouTube recompresses the file.
Should I match frame rate when exporting videos for YouTube?
Yes, maintain the same frame rate throughout editing and export as used during recording. Matching frame rates avoids issues like frame interpolation, duplicate frames, and uneven motion cadence that can degrade video quality after YouTube processes the upload.
How we researched this
This article was assembled from 14 cited references.
Nothing here is based on hands-on testing. Where a figure or finding appears, it belongs to the source cited beside it, and the writing says so rather than implying otherwise. Every source is listed below so you can check it.
Sources
- Watching Stars in Pixels: The Interplay of Traffic Shaping and YouTube Streaming QoE over GEO Satellite Networks
- YouTube Bitrate Settings (2026): Best 1080p, 4K & Live Stream Bitrate
- What Are Proxies in Video Editing, and When Should You Use Them?
- Best Video Editing Software in 2026 | Position Is Everything
- Proxy Workflow: Formats, Sizes and Relinking | CineMath
- How to Use Proxies for Smooth 4K Editing in Premiere Pro - Adobe Video World
- YouTube Video Export Settings: H.264, Bitrate, 4K and HDR
- I edit video for a living - and this is how much RAM you need in 2026
- Video Editing on a Budget: Best Practices for 2026
- Color Spaces and Color Grading Basics, EncodeX Guide
- YouTube Video Codecs Explained: H.264 vs VP9 vs AV1
- Why Your Edits Look Amateur, And How to Fix Them
- YouTube Recommended Upload Settings 2026: Official Encoding Guide
- YouTube recommended upload encoding settings - YouTube Help
Related Articles
Documentary Video Editing Techniques
Learn documentary video editing techniques including proxy workflows, timeline settings, codecs, and color grading for smoother, high-quality edits.
Video Editing Workflow: How to Create an Efficient Process
Learn how to create a video editing workflow covering timelines, proxies, codecs, and color grading for smooth post-production.
Edit Video for Social Media: Tips on Formats, Length & Color
Learn how to edit video for social media with tips on formats, length, proxies, and color grading for optimal engagement and platform compatibility.
Edit Video for Educational Content
Learn how to edit video for educational content with tips on timelines, proxies, codecs, and color correction for engaging teaching videos.