
Video Editing Workflow: How to Create an Efficient Process
Learn how to create a video editing workflow covering timelines, proxies, codecs, and color grading for smooth post-production.
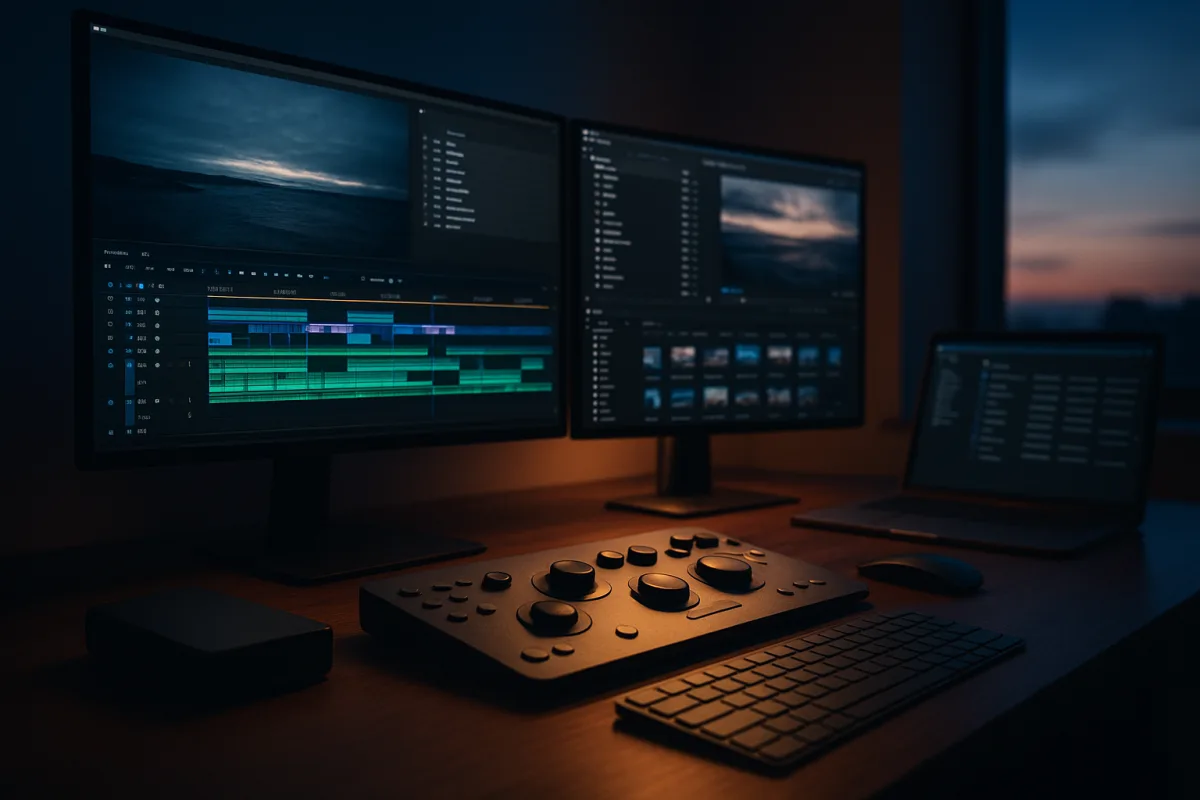
A Video Editing Workflow That Keeps the Timeline Moving
Start before the cards arrive: define the job
The first workflow failure usually happens before footage is copied. Someone starts cutting without knowing whether the result is a 16:9 YouTube film, a vertical social cut, a client presentation, or several versions with different runtimes.
Write a short edit brief that states audience, purpose, platform, duration, delivery resolution, aspect ratio, frame rate and deadline. Cursa identifies planning as the foundation because these choices affect pacing, framing and export settings. [1]
Also establish what “approved” means. Is the editor supplying one master, a clean version, captioned versions, social cutdowns, or a version with alternate music? This is not paperwork for its own sake. It stops a finished timeline becoming the starting point for three unplanned deliverables.
Choose the sequence frame rate from the intended master and confirm the source frame rates before editing. Frame-rate mismatches are a common source of bad motion and avoidable troubleshooting, alongside sample-rate mismatches that can produce audio problems. [23][24]
Do not build an 8K workflow because a camera happened to offer 8K. Digital Camera World reports that 8K production and distribution remain limited, with high cost and small perceptual gains over 4K contributing to manufacturers scaling back 8K televisions. [13]
For most current work, build around a solid 4K master or the actual platform requirement. That decision saves storage, proxy-generation time, cache space and export time. An 8K acquisition workflow can be justified for a specific crop, VFX or delivery requirement, not as a default.
Ingest once, organise immediately
Make the project folder before copying media. Cursa recommends clear categories for footage, audio, graphics, project files and exports, because a predictable structure reduces the time spent searching for assets. [1]
A practical version might use folders named Footage, Audio, Graphics, Project Files, Cache, Proxies, Exports and Archive. Inside Footage, separate shoot days, camera cards or interviews in a way that matches the production. The exact names matter less than using the same system every time.
Keep camera originals unchanged. Copy them into the Footage folder, verify the copy using the process available to you, then point the project at that controlled location. Do not scatter source files across Downloads, a desktop, a card reader and three unrelated drives.
Use names that answer a future question. A file called A001_C004 is a camera identifier, not an editorial identifier. A project file named by client, job, date and version is easier to recover when someone asks for “the approved cut from Tuesday.”
In the NLE, mirror the disk structure with bins. Create bins for interviews, b-roll, music, sound effects, graphics, sequences and exports. Add bins for selects and rejected material if that helps the job, but do not create an elaborate taxonomy nobody will maintain under deadline.
Do not edit directly from a typical external archive drive. KlipFlow lists editing directly from external drives among the recurring workflow mistakes, and DiskHunt recommends NVMe SSD storage for active projects and cache. [22][6] The drive can be connected, but its speed and connection must support the media you are actually cutting.
Match the codec to the stage of work
Codec decisions cause more timeline pain than most camera decisions. H.265, also called HEVC, is widely used for 4K because it gives efficient compression with broad support, but efficient delivery compression is not the same thing as pleasant editing media. [8][9]
ProRes uses intraframe compression, meaning each frame is easier for an editor to access than a highly compressed long-GOP format. FileFormer identifies ProRes as a professional editing choice because of its quality and editing performance, with the obvious trade-off of larger files. [9]
That leads to a straightforward division of labour. Keep supplied H.265 camera originals as originals. Generate proxies or transcodes when the system struggles. Use a delivery format appropriate to the destination rather than assuming the edit codec must also be the upload codec.
MP4 is the most universal container, while WebM is suited to web streaming. [10] A container is not a quality setting by itself, so write down the required codec, resolution, frame rate and bitrate for every delivery rather than handing off “an MP4” and hoping it matches the brief.
AV1 promises roughly 30 to 50 percent better compression efficiency in the cited codec guidance, but its higher processing demand and limited hardware support restrict practical use in many editing workflows. [8] It is worth evaluating for certain delivery cases, not adopting blindly as an edit master.
The same caution applies to 8K and AV1 together. The theoretical storage and distribution advantages do not make an 8K AV1 editorial workflow a sensible default when 4K remains the working standard for most real-world delivery. [13]
When playback stutters, make proxies first
If the timeline stutters, audio crackles during playback, or scrubbing takes seconds to respond, create proxies before rebuilding the whole edit. Proxy files are lower-resolution copies, commonly 1080p or 720p, designed to reduce decode and bandwidth load while preserving a link to the camera originals. [14]
ProRes Proxy is a common choice where storage allows, and H.264 proxies are also used. The right proxy resolution depends on the source footage, required framing precision and machine, so 720p is not automatically too small and 1080p is not automatically necessary. [14]
For Adobe Premiere Pro specifically, proxy creation can be automated during import. Premiere’s proxy workflow lets an editor attach generated proxy media and toggle between proxies and full-resolution media, while retaining the original files for final output. [25]
That instruction is Premiere Pro-specific. The research brief does not provide equivalent step-by-step proxy-management guidance for DaVinci Resolve or other NLEs, so do not assume the same buttons, attachment rules or ingest settings exist elsewhere.
Proxies solve decode and playback pressure, not every performance problem. The Post Flow cautions that insufficient RAM, slow storage or an overloaded cache can still cause poor performance after proxies are enabled. [16] If proxy footage is still lagging, stop generating another proxy preset and inspect the system.
Check whether the active project, media cache and proxies live on a fast local SSD. Close memory-heavy applications, confirm available disk space, and inspect timeline effects. A heavy denoise, stabilisation pass, blur stack or multiple graphics layers can make even proxy playback slow.
Fix the workstation bottleneck, not the symptom
For an active editing system, the research points to NVMe SSD storage in the 2TB to 4TB range for projects and cache, with external 8TB to 20TB hard drives suited to archive. [6] This separates fast current work from cheaper long-term storage.
For demanding 4K work, Creative Bloq recommends a GPU with at least 8GB of VRAM, while 16GB or more is suggested for 8K work. Its cited example is Nvidia’s GeForce RTX 5080 Founders Edition. [5] Those figures are guidance, not a guarantee that every effect will play in real time.
A minimum of 16GB RAM is cited for editing, though complex projects can require more. [2] If the system swaps memory to disk while Premiere Pro, Resolve, After Effects or browser-based review tools are open together, new hardware may save more time than endlessly adjusting proxy settings.
TechRadar’s 2026 hardware coverage cites the Intel Core Ultra 7 256V, used in the GMKtec K13 AI mini PC, as an example of a current editing-capable CPU. [3] Treat this as one reference point, not a universal buying prescription for desktop, laptop and shared-storage workflows.
Do not assume hardware pricing is stable. Software subscriptions, regional availability, internet access and memory-market volatility can all change what is sensible to buy. DaVinci Resolve’s free version may be more accessible than an Adobe Premiere Pro subscription in some regions. [3]
Build a timeline that can survive notes
Before making the polished cut, make a workable assembly. Lay down the interview or primary story, mark usable b-roll, then build the rhythm. Avoid decorating every gap with a transition because overuse of effects and transitions is a documented source of unnecessary editing drag. [22][24]
Use labelled tracks consistently. For example, keep dialogue, music, sound effects, graphics and adjustment layers in known track ranges. When a client asks to replace music or lower all interview audio, a predictable timeline turns a potential hour into a short, controlled change.
Group similar shots before the colour pass. Brokenmount’s Premiere Color Mode workflow recommends grouping clips by similarity, allowing batch adjustments instead of repeating the same correction on every shot. [17] Group by camera, location, lighting setup or interview angle, not merely by chronology.
Apply broad consistency moves at sequence level where appropriate. Sequence-level grading can maintain a unified look and reduce repetitive clip-by-clip work, according to Brokenmount. [17] It will not fix a single incorrect white balance or underexposed shot, so correct those clips first.
Correct colour before creating the look
Colour correction is technical: exposure, white balance, contrast and matching cameras. Colour grading is creative: the deliberate look layered after the image is technically under control. Mixing the two stages makes revisions harder because nobody knows whether a change is fixing a defect or changing the style. [18]
Use a waveform and RGB parade rather than judging exposure and colour solely by a laptop display. Wide Open Gear identifies scopes as the accurate way to assess image values, and both DaVinci Resolve and Adobe Premiere Pro are established tools for this work. [18]
AI-assisted grading can speed an initial correction or matching pass, but it does not replace a skilled colourist’s judgement. The current evidence supports AI as assistance, not full automation, especially where shots need creative continuity or a client has a specific look in mind. [21]
Review the grade on representative difficult shots before applying it broadly: mixed daylight, skin tones, practical lights and the darkest scene. That catches the “one adjustment layer fixed everything except the scenes people will notice” problem before export day.
Export deliberately, then protect the project
Before final export, check the sequence against the brief: resolution, frame rate, aspect ratio, audio sample rate, captions, graphics, spelling and version name. These checks are dull, but frame-rate and sample-rate mismatches remain common workflow errors. [23]
Export a review file only after confirming it is a review file, not the master delivery. Keep exports in a dedicated folder and give each one an unambiguous version name. This prevents a client receiving an old draft simply because it was nearest the top of a cluttered directory.
Reliable backups matter because lack of backups is repeatedly identified as a risk for data loss. [22][23] The research does not establish a single recommended backup pattern, so it would be false precision to prescribe a universal number of copies or a specific cloud service here.
What is clear is that backups should be planned as part of the workflow, not started after the final export. Keep project files, original media, proxies where useful, graphics, audio and final approved exports organised so the job can be reopened without guessing which files mattered.
Frequently Asked Questions
How do I create an efficient video editing workflow?
Start by defining the job clearly before ingesting footage, including delivery platform, aspect ratio, frame rate, and approval requirements. Use a consistent project folder structure and clip naming system to organize assets immediately after copying media. Editing from fast local NVMe storage and using proxies for high-resolution footage can further improve efficiency.
What steps are involved in a professional video editing workflow?
First, write an edit brief specifying audience, purpose, platform, duration, resolution, aspect ratio, frame rate, and deadline. Next, create a repeatable folder structure for footage, audio, graphics, project files, proxies, exports, and archives. Copy and verify camera originals into the folder, then organize clips and bins in the NLE to mirror the disk structure. Use proxies for difficult 4K media and edit from fast local storage to maintain smooth playback.
How do proxies improve video editing workflow?
Proxies are lower-resolution copies (typically 1080p or 720p) of high-resolution footage that reduce the processing load during editing, improving playback and responsiveness. They are especially helpful with 4K media but may not fully resolve playback issues if hardware like RAM or storage speed is insufficient. Proxy creation can often be automated during import in editing software.
How should I organize files for a smooth video editing workflow?
Create a clear, repeatable folder structure before copying media, with separate folders for Footage, Audio, Graphics, Project Files, Cache, Proxies, Exports, and Archive. Inside Footage, organize by shoot days, camera cards, or interviews to match production needs. Use consistent and descriptive file and project names to simplify searching and version control, and mirror this structure within the NLE using bins.
How we researched this
This article was assembled from 25 cited references.
Nothing here is based on hands-on testing. Where a figure or finding appears, it belongs to the source cited beside it, and the writing says so rather than implying otherwise. Every source is listed below so you can check it.
Sources
- Video Editing Workflow Essentials: From Ingest to Export (Plus a Simple Checklist) | Cursa
- I edit video for a living - and this is how much RAM you need in 2026
- I'm a video editor and this is the best video editing software of 2026 for creative professionals and creators
- How to Edit YouTube Videos Like a Pro: Complete 2026 Guide | editchoice.com
- The best graphics cards for video editing: the best choice for all budgets
- Best Storage Drive for Video Editing in 2026 | DiskHunt
- Best Storage Solutions for 8K Video Editing As 8K video becomes increasingly accessible to professional filmmakers and content creators, one critical challenge emerges: managing the enormous data demands – Define Computer
- How to Choose the Right Video Codec for Streaming - Toxigon
- Understanding Video Codecs: Which One Should You Use? | FileFormer
- Video Transcoding Explained: Codecs, Bitrate & Formats
- Best Video Format in 2026: Which One Should You Use
- 4K Video Conversion: Codecs, Settings, and File Sizes | ChangeThisFile
- 8K video is dying, but you shouldn't mourn its loss
- 10 video editing tricks that actually save you time (2026)
- How to Use Proxies for Smooth 4K Editing in Premiere Pro - Adobe Video World
- Proxy Workflows: What They Actually Fix - The Post Flow
- The Divide and Conquer Grading Workflow in Premiere’s Color Mode - Brokenmount Video & Photo
- Color Grading Basics for Video: A Beginner's Guide | Wide Open Gear
- Professional Video Editing Tips & Techniques for 2026 | Edición Video Pro
- Best Video Editing Tools for Color Grading (2026) | Listicler
- AI Color Grading for Video 2026 | Videographer Workflow | Steven Video Production
- Video Editing Best Practices: A Complete Guide for 2026 | KlipFlow
- Most Common Video Editing Workflow Errors (and Fixes)
- 15 Video Editing Mistakes Beginners Make (and How to Fix Them)
- Create proxies in Premiere | Premiere
Related Articles
Travel Vlog Video Editing: Workflow, Proxies & Colour Tips
Learn travel vlog video editing with tips on workflow, proxies, colour grading, and pacing to create engaging travel videos efficiently.

Unlocking Hidden Insta360 App Features: A Comprehensive Tutorial
Discover hidden features in the Insta360 app version 2, including framing guides, proxy mode, navigation shortcuts, MultiView, photo-to-video conversion, color correction, and customizable export settings. Master the art of reframing shots with this detailed tutorial.

Video Editing Codec Mistakes to Avoid for Smoother Workflows
Learn key video editing codec mistakes to avoid and improve your workflow with proxies, timelines, and colour management tips.
How to Choose Video Editing Software
Learn how to choose video editing software by comparing Premiere Pro and DaVinci Resolve on timelines, proxies, codecs, and color grading workflows.