
Edit Video for Educational Content
Learn how to edit video for educational content with tips on timelines, proxies, codecs, and color correction for engaging teaching videos.
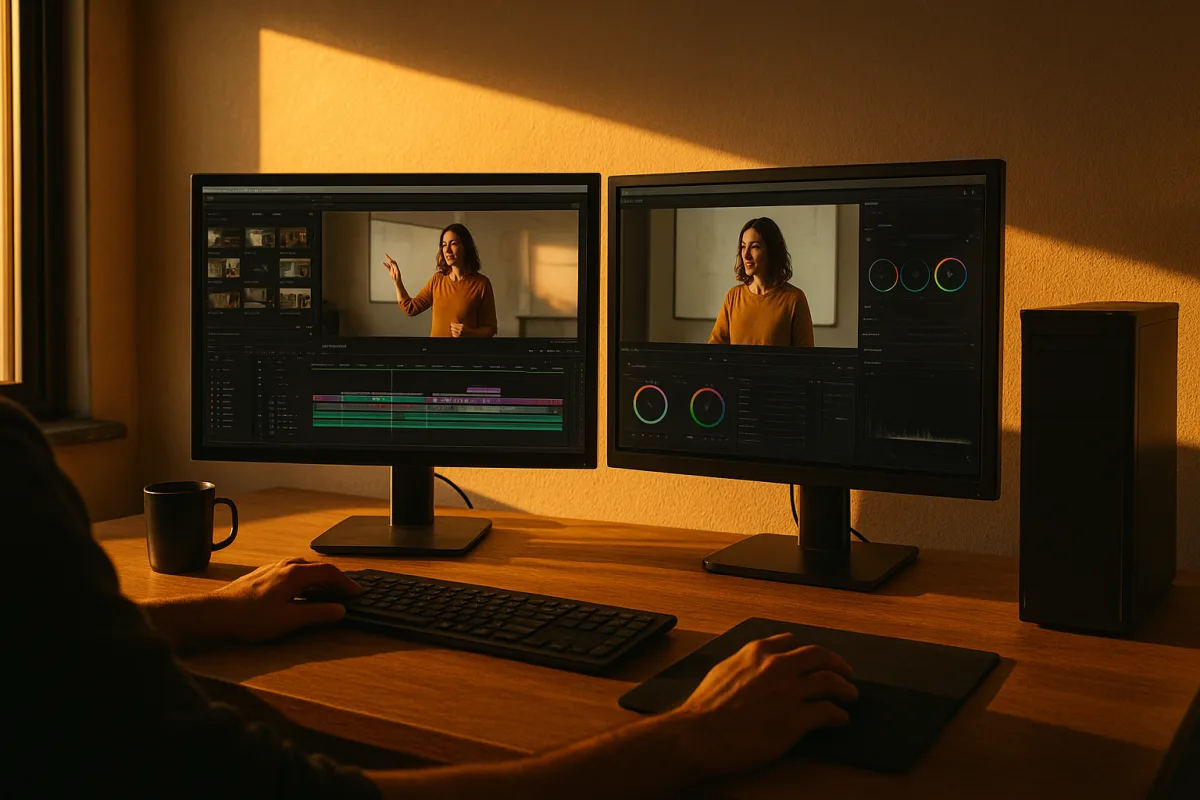
Start by deciding what the learner must leave knowing
The first edit problem is usually not the edit. It is a lesson that tries to explain six things at once, then relies on graphics, jump cuts, and background music to make the density feel intentional.
Cut to a single learning outcome per video where possible. Research collected by Acoust AI places single concepts and quick skills at 1 to 5 minutes, while tutorials tend to work in the 5 to 10 minute range, with engagement peaking at roughly six minutes. [10]
That does not mean every subject must fit six minutes. Complex material can run 10 to 20 minutes, but completion rates decrease as duration rises. For a longer lesson, make the chapters real editorial units, not arbitrary timestamps inserted after export. [10]
Platform behaviour complicates the usual training-video advice. OpusClip’s 2026 YouTube education data points to much shorter videos, around 30 to 60 seconds, while TikTok norms sit around 30 to 45 seconds. [11][12]
The useful production answer is often two edits from one recording. Cut the 5 to 10 minute tutorial for a course page or standard YouTube upload, then cut one short, self-contained concept for vertical distribution.
Do not simply crop the long edit and call it a Short. A short educational clip needs its premise, visual proof, and takeaway within the new duration. The source lesson can supply the material, but it cannot supply the structure automatically.
Choose software before you build a project around it
There is no research-backed winner for educational creators specifically, and I have not tested these applications. The practical distinction is what kind of project you need to finish, how you pay, and whether cloud or advanced colour work matters.
Adobe Premiere Pro starts at $19.99 per month and suits an editor who needs a mainstream professional NLE with current AI-assisted options. Toolradar and related 2026 software comparisons highlight its Generative Media Tool, making it the clearest cited option here for AI-integrated editing features. [2][3]
That AI point should not be inflated into a promise of better teaching. The research brief finds no quantified evidence that AI editing tools improve educational quality or save a known amount of time. Treat them as assisted workflow features, not curriculum design.
DaVinci Resolve suits editors who need serious colour-grading tools without an initial licence cost. Its free version includes substantial professional features, which makes it the sensible option when grading classroom footage, presentations, and screen captures consistently matters more than automated AI features. [2][4]
The cited material does not confirm Premiere Pro-style AI functionality in DaVinci Resolve. It is better to choose Resolve for its established editing and colour capabilities than to assume feature parity based on an AI label.
WeVideo is a cloud-based option that suits teachers and institutions working through a learning management system, because the research identifies LMS integration as its distinguishing feature. [4] The supplied research does not provide a current price, so do not budget from an unverified figure.
Adobe Premiere Elements 2026 costs $99.99 for three years and suits a teacher who wants a consumer-oriented Adobe editor rather than the full Premiere Pro subscription. Digital Camera World describes it as beginner-friendly but also warns that its feature set can become complicated quickly. [5]
Movavi Video Editor 2026 starts at $23.95 per month or $99.95 as a one-time purchase. It suits a straightforward edit-and-caption workflow, since the supplied comparisons identify AI-powered subtitles as a notable feature rather than advanced colour or generative-media tools. [3][6]
Pick one application and make a template project before the semester begins. Include your 16:9 sequence, title style, lower-third position, basic caption treatment, music-free audio layout, and export presets. That setup work is less exciting than changing software halfway through a course.
Set the timeline to match the footage and the destination
For most educational material, create a 1920×1080, 16:9 timeline and retain the camera or screen-recording frame rate. Common supported rates include 24, 25, 30, 50, and 60 fps. Avoid going above 60 fps because platforms may downscale it. [7][8]
Native frame rate matters because unnecessary conversion creates work and can introduce uneven motion. If your screen capture is 30 fps, edit and export at 30 fps unless you have a specific delivery reason to change it.
Use 1280×720 only when bandwidth or the delivery platform makes it necessary. It remains a valid online resolution, but 1080p is the more practical default for readable slides, software demonstrations, equations, and other small on-screen detail. [7]
4K, 3840×2160, is useful when the source requires it or when YouTube delivery benefits from the platform’s higher bitrate allocation. It also creates larger files, longer exports, and more bandwidth pressure, so it is often unnecessary for ordinary lessons. [7][14]
For standard dynamic range material, work and deliver in Rec. 709. Rec. 2020 with HDR metadata is the specified route for HDR, but HDR is not a free upgrade for a talking-head lesson. Mixing unplanned colour spaces is a fast route to inconsistent results. [24][26]
Do not make a 16:9 master do every job without reconsidering the frame. TikTok and similar vertical platforms require a vertical treatment, while conventional YouTube lessons generally use 16:9. Reframe deliberately, particularly when slides contain edge-to-edge text. [9][12]
Make proxies before playback becomes the bottleneck
The point where many educational edits become miserable is ingest. A lesson may look simple, but it can contain 4K camera clips, a screen recording, a second camera, slide renders, and graphics, all competing for playback.
A proxy is a lower-resolution file linked to the original media. You edit the proxies for responsive playback, then reconnect or toggle back to the originals for export. The final export uses the original media, not the low-resolution editorial files. [15][16]
The basic order is dependable: import the camera originals, generate proxies, confirm they attach correctly, edit with proxies enabled, relink or switch to originals, then export. That workflow is supported in Premiere Pro, DaVinci Resolve, and Final Cut Pro. [17][28]
In Adobe Premiere Pro, Adobe’s documented workflow is to ingest media and create proxies through the proxy workflow, then use the proxy attachment and toggle controls to work between proxy and full-resolution media. [28] Check the toggle before judging sharpness.
DaVinci Resolve and Final Cut Pro also support proxies, but this is not an argument that their menus or defaults are identical to Premiere Pro’s. The research supports the workflow across all three, not a one-size-fits-all button sequence. [17]
No supplied research establishes an ideal proxy resolution or codec specifically for educators. Do not lose an afternoon looking for a magic proxy preset. Generate a lower-resolution version that plays smoothly on the available system, then verify the originals return for export.
Proxies solve an editing-performance problem, not a storytelling problem. If playback is smooth but the learner cannot read the screen recording, the fix is a tighter crop, a larger source capture, or a dedicated insert, not a faster computer.
Cut for visual explanation, not visual noise
Educational video benefits from visual elements when they clarify the explanation. Research on visual elements in educational video links visual design with user interaction, but that does not justify putting movement, labels, icons, and transitions on every frame. [1]
Use graphics to point at the exact menu item, calculation step, map location, or physical action currently being explained. Remove the graphic when its job is complete. A persistent visual layer becomes a competing lesson.
Interactive colour-authoring tools such as Piet can be considered where the course platform supports interactive work. The supplied research recommends balancing visual complexity to reduce learner drop-off, but provides no quantitative evidence that Piet itself raises engagement. [1]
That caveat matters. Do not build an interactive segment because the authoring tool exists. Build it only when the learner needs to inspect, compare, or act on information that a linear clip cannot explain as clearly.
Correct colour before you try to make it stylish
Start colour work by matching clips: white balance, exposure, and contrast first. Premiere Elements includes controls for these fundamental corrections, and the same correction-first logic applies regardless of which NLE you use. [5][23]
The common failure is over-saturation, particularly after combining phone footage, webcam shots, screen captures, and branded graphics. Saturation can make a thumbnail look lively while making skin tones and coloured diagrams less trustworthy on the lesson page. [20][21]
Keep skin tones natural and grade all shots in a sequence consistently. Creative Bloq and Uppbeat both frame grading as a process of shaping colour and mood, but for educational work, intelligibility and continuity should come before a dramatic look. [22][23]
Warm colour can support a positive tone, while cool colour can suggest a more somber one. Use that theory sparingly. There is no supplied evidence that a particular grade works better for a particular subject or learner demographic. [22]
Treat subtitles as a deliverable, not an afterthought
Captions are where a finished edit often breaks at upload. Literal translation is not localization, especially when examples, measurements, idioms, or cultural references need adaptation for another audience. [18][19]
Prepare the subtitle format for the actual destination. YouTube uses caption files such as VTT, while Instagram-style delivery may require burned-in subtitles because the viewing context and platform requirements differ. [19]
Do not assume that AI-generated subtitles are accurate enough to publish untouched. Movavi’s AI-powered subtitle feature may suit a fast starting point, but the research gives no educator-specific evidence on ideal timing, font choice, or automatic-caption accuracy. [3][6]
Review names, technical terms, equations spoken aloud, and on-screen references manually. Then open the uploaded version on the platform, because a caption file that looked fine in the editor can fail through formatting or placement requirements.
Export a version the platform can actually use
For standard 1080p SDR delivery, use an MP4 container with H.264 video at about 10 Mbps. A cited alternative is H.265 at about 6 Mbps for 1080p, while 4K H.265 or AV1 delivery is commonly specified around 35 to 45 Mbps. [24][27]
Set audio to AAC-LC, 320 kbps, at 48 kHz. Keep the file below 4 GB where platform compatibility is a concern. These are delivery settings, not proof that every platform treats every file identically. [24][27]
For ordinary SDR exports, H.264 remains the practical default, with an 8 Mbps figure also cited for SDR online video settings. If you see conflicting bitrate advice, remember that bitrate is tied to resolution, frame rate, platform, and acceptable file size. [7][24]
Before publication, watch the exported MP4 from start to finish. Then inspect the uploaded version for caption behaviour, slide readability, colour shifts, crop errors, and frame-rate problems. That final check catches the workflow mistakes hardware upgrades will not fix.
Frequently Asked Questions
How do I edit video for educational content effectively?
Focus each video on a single learning outcome, ideally keeping lessons between 1 to 5 minutes for quick skills and 5 to 10 minutes for tutorials. For longer or complex topics, use real editorial chapters rather than arbitrary timestamps. When creating short clips for platforms like YouTube Shorts or TikTok, ensure the clip has its own clear premise, visual proof, and takeaway rather than simply cropping longer videos.
What timeline settings are best for educational videos?
Start with a timeline set to 1920×1080 resolution at a 16:9 aspect ratio, using the footage’s native frame rate. Use 4K resolution only if the delivery platform or client specifically requires it, as higher resolution does not automatically improve teaching quality and can increase file size and bandwidth needs.
Which codecs should I use for educational video exports?
Export educational videos as MP4 files using the H.264 codec for standard SDR delivery, typically at around 10 Mbps for 1080p. For 4K content, H.265 or AV1 codecs are recommended with bitrates between 35 and 45 Mbps. Always check captions, color, and aspect ratio on the uploaded version before publishing.
How can proxies improve editing educational videos?
Generating proxies is helpful when editing multicamera lessons, screen recordings, or 4K footage, as proxies reduce the demand on your editing system and speed up the workflow. Major editing software like Adobe Premiere Pro, DaVinci Resolve, and Final Cut Pro support proxy workflows, making it easier to handle large or complex educational projects efficiently.
How we researched this
This article was assembled from 28 cited references.
Nothing here is based on hands-on testing. Where a figure or finding appears, it belongs to the source cited beside it, and the writing says so rather than implying otherwise. Every source is listed below so you can check it.
Sources
- From Formulas to Figures: How Visual Elements Impact User Interactions in Educational Videos
- Best Video Editing Software in 2026 | Toolradar
- Best Video Editing Software in 2026: Complete Comparison Guide | VideoEditingTips.pro
- The 6 Best Video Editing Software Picks for Educators and Students in 2026 - Guidenix
- Adobe Premiere Elements 2026 review: The latest edition of Adobe's beginner-friendly video editor is feature-rich, but can get complicated fast
- Movavi Video Editor 2026 – téléchargement rapide et sécurisé
- Best YouTube Video Settings 2026: Resolution & Frame Rate Guide
- Best Aspect Ratios for YouTube Videos (2026 Guide)
- Best aspect ratios for video in 2026 | Convertitive
- What's the Ideal Length for a Training Video? Here's What the Research Says | Acoust AI
- Best Time to Post Education & Tutorials Content on YouTube (2026 Data) | OpusClip
- Short-Form Video Length Guide: Optimal Length for TikTok, Reels, and Shorts in 2026 | SyncStudio
- Educational Video for Classrooms & Online Courses (2026) | X-Pilot
- How to Edit YouTube Videos Like a Pro: Complete 2026 Guide | editchoice.com
- Proxy workflows: editing 4K footage without a monster machine | Miami Video Services Blog
- Proxy Editing: Smooth Edits on a Slow Computer
- Proxy Workflow: Premiere vs DaVinci vs Final Cut
- How to Grow Globally with YouTube Video Localization
- Why Subtitles Aren't Working: Fix Common Video Text Issues
- 10 Post-Production Mistakes That Kill Video Qualitys
- 15 Video Editing Mistakes Beginners Make (and How to Fix Them)
- What is colour grading? Everything you need to know
- How to Color Grade Your Videos: A Step-by-Step Guide
- Video and audio compression guidelines – Vimeo Help Center
- Short and sweet or long and loaded? The Goldilocks guide to video length
- Video standards – Udemy Business
- Recommended codecs, bitrates, and file types | MediaZilla Help Center
- Ingest and Proxy workflow
Related Articles
How to Edit Video for Online Courses: Best Practices
Learn how to edit video for online courses with tips on timelines, proxies, codecs, color correction, and lesson structuring for effective learning.
Documentary Video Editing Techniques
Learn documentary video editing techniques including proxy workflows, timeline settings, codecs, and color grading for smoother, high-quality edits.
Edit Video for Social Media: Tips on Formats, Length & Color
Learn how to edit video for social media with tips on formats, length, proxies, and color grading for optimal engagement and platform compatibility.
Video Editing Techniques for Corporate Videos
Learn effective video editing techniques for corporate videos, including timelines, proxies, codecs, and color grading best practices.