
How to Edit Video for Online Courses: Best Practices
Learn how to edit video for online courses with tips on timelines, proxies, codecs, color correction, and lesson structuring for effective learning.
Start by cutting the course into lessons, not by opening the NLE
The first editing problem is usually structural. A presenter records a 42-minute explanation, calls it a lesson, and hands the editor a file that has no natural breaks, no visual reset, and no place for the learner to act.
Make a paper edit from the teaching objective first. Mark where the learner needs a definition, a demonstration, an example, a recap, or a task. Those are edit points, not merely places to remove “ums.”
A useful target is a 30 to 60 minute module made from 5 to 15 minute lessons.[5] SchoolMaker’s 2026 guidance similarly puts typical educational videos around five to 10 minutes, which is short enough to make a specific promise and deliver on it.[4]
There is no magic duration that fixes weak teaching. Research on business-English educational videos hosted on YouTube found the highest engagement in videos under a minute, but that does not mean every course lesson should be 45 seconds long.[1]
Use that finding as a reminder to cut dead air and repeated explanations, not as a mandate to shred a worked example into fragments. A learner should be able to stop after a lesson with one complete idea, one demonstrated procedure, or one defined next step.
Where a module must run longer, insert a deliberate interruption every 15 to 20 minutes: a quiz, a prompt to pause and try the process, or a reflection question.[6] Edit the instruction so that the activity is introduced before it appears, not tacked onto the last frame.
Segmented video has been associated with stronger learning gains and a better sense of structure than long, continuous video.[22] In timeline terms, that means separate sequences or timelines for separate lessons, with clear names and a clean handoff between them.
Set the technical baseline before you import a day’s footage
For most online courses, make the delivery sequence 1920x1080 at 30 fps, using a 16:9 frame.[2][3] That is the practical baseline for slides, webcam footage, software demonstrations, and ordinary instructional b-roll without creating unnecessarily large files.
If the source is 4K, you can still edit and deliver at 1080p. The extra pixels are useful for reframing a presenter, making a modest push-in, or cropping a screen capture, but Descript’s resolution guide does not treat 4K as necessary for most educational content.[2]
Do not choose 60 fps because it sounds more professional. Seedance’s 2026 guide identifies 60 fps as useful for fast action, while also increasing file size.[3] A course on repairing a bicycle drivetrain may justify it, but a lecture, spreadsheet walkthrough, or slide presentation usually does not.
Match the sequence frame rate to the material whenever possible. Mixing 25, 30, and 60 fps without a plan can create awkward motion or force frame conversion on export, one of the avoidable settings mistakes identified by DL-Sounds.[13]
If the course platform is Udemy Business, note one platform-specific wrinkle: its video standards accept 25 to 60 fps but resample uploads to 30 fps.[19] That is a reason to master course material for 30 fps where Udemy Business is the delivery destination.
Make the project easy to reopen three weeks later
Before the rough cut, separate camera originals, screen recordings, graphics, music, voiceover, project files, exports, and proxies. A course has repetition by design, which makes vague filenames such as “final_final_new2” particularly expensive when revisions arrive.
Name lesson sequences by module and lesson number, then reserve a version field for approval status. For example, a sequence naming pattern based on “M02_L03_KeyboardShortcuts_v03” makes replacement graphics and revised voiceover much easier to identify.
Keep the edit simple. Educational video often needs a presenter track, screen capture, slide inserts, labelled callouts, and occasional b-roll. It does not need constant animated transitions between every cut, which can distract from the instructional sequence.[13]
Use cuts to remove hesitation, duplicate phrasing, and failed demonstrations, but do not turn a teacher into a machine gun. DL-Sounds identifies both long pauses and excessively rapid cutting as pacing problems.[13] Leave enough breath around a complex diagram or a multi-step software operation.
For screen-recorded lessons, cut the cursor travel that does not teach anything, then hold long enough for the learner to locate the relevant menu or field. If an operation has three steps, consider on-screen labels for all three instead of narrating over a blur of clicks.
Use proxies when the footage fights the timeline
A proxy is a lower-resolution copy of original media used for editing performance. It is not a lower-quality final deliverable, because the finished export should reference the original media rather than the proxy files.[7]
This matters when a course combines 4K camera footage with long screen recordings, particularly if the editor needs to review many takes and keep playback responsive. The fix is often proxies, not a premature computer replacement.
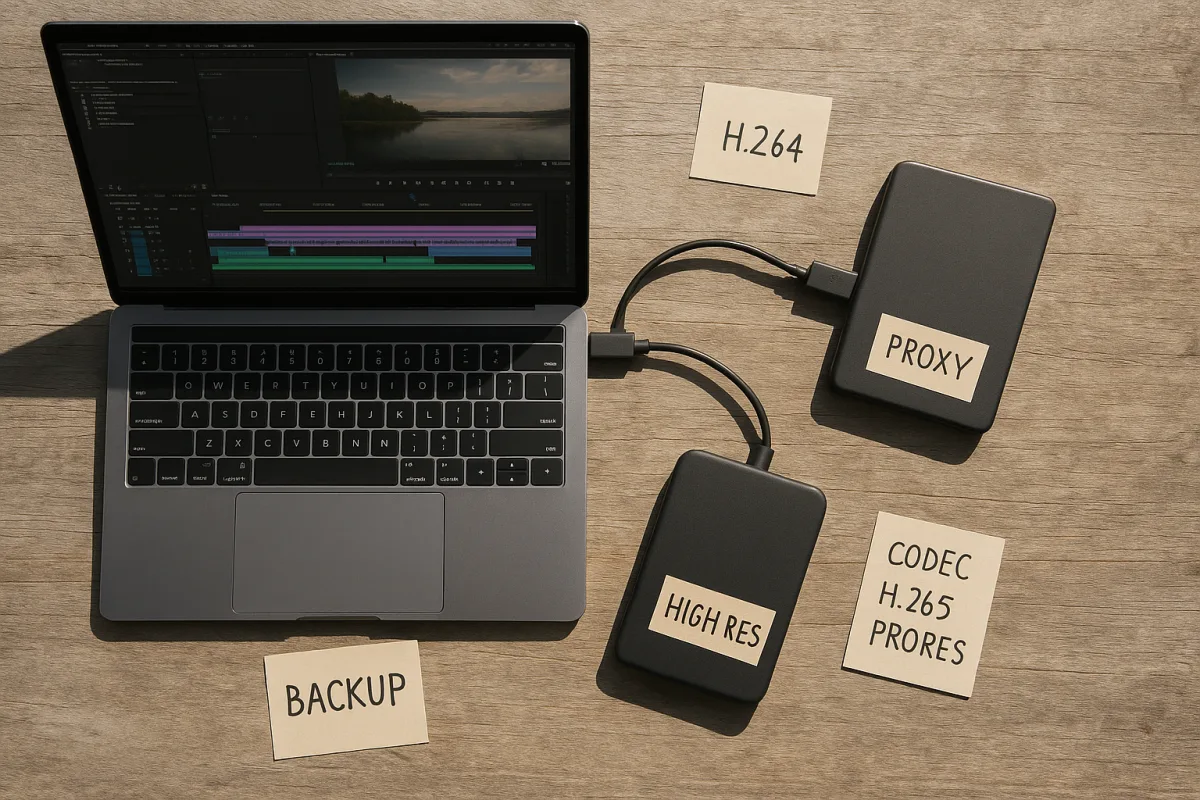
Create proxies early and keep their relationship to the originals unambiguous. The research brief recommends matching frame rate, resolution conventions, and codec choices consistently across proxy creation, while storing proxies and originals on separate drives with backups.
Do not judge fine text, subtle colour, or sharpening while proxy playback is active. Turn proxies off for the quality-control pass, inspect titles and screen captures at full resolution, and confirm that the export is using original media.
Proxy controls are NLE-specific. Adobe’s proxy workflow supports automatic proxy creation during ingest and a proxy toggle, while Filmora also documents a proxy workflow.[23] I have not tested either workflow, so treat this as a reason to check your specific version’s proxy and export settings before committing a whole course.
Fix sound before you decorate the picture
Learners will forgive a plain shot more readily than background noise, changing dialogue levels, or a presenter who becomes hard to hear halfway through a module. Bidmonline lists poor audio quality and inconsistent volume among the common editing failures that damage engagement.[14]
Cut obvious noises between phrases, but do not use aggressive processing as a substitute for intelligible recording. If a sentence cannot be understood, record a replacement line or add a clear correction, because no colour grade will rescue a lesson that cannot be followed.
Keep slide music, stings, and transition sounds subordinate to speech. The teaching voice should remain stable from lesson to lesson, including when the course moves between camera footage and screen recordings.
For the final file, use AAC audio at 44.1 kHz, stereo, and 256 kbps or higher where the delivery platform permits it.[19] Those are Udemy Business’s published standards, so check the LMS requirements if your course is delivered elsewhere.
Correct colour for clarity, then stop
The colour job for most courses is correction first: balance exposure and white balance so consecutive shots look like they belong in the same room.[8] Grade second, and only when a creative adjustment improves focus or supports the lesson’s tone.
Use Rec. 709 for standard dynamic range course delivery. It remains the normal compatibility choice for SDR online video, while HDR formats such as HLG and PQ require an end-to-end workflow that most educational delivery pipelines do not need.
A warm or cool look can be useful when applied deliberately, but colour theory should direct attention rather than announce itself.[9] A screen-recording course benefits more from legible interface captures and stable skin tones than from a dramatic teal-and-orange treatment.
If you have a calibrated display, Creative Bloq recommends a Delta E below 2.3 for accurate colour work.[10] If you do not, keep corrections conservative and review exports on more than one ordinary display rather than making strong changes based on an unverified monitor.
Adobe Premiere Pro’s Lumetri Color and DaVinci Resolve’s colour tools are common options for this work.[11] AI-assisted grading can provide a starting point, according to Steven Video Production’s 2026 overview, but it still needs shot-to-shot checking before it reaches learners.[12]
Export for the LMS, then verify the uploaded result
H.264 video in an MP4 container is the safest general export for course delivery and streaming compatibility.[18][19][20][21] It is the format repeatedly supported across Udemy Business, LearnWorlds, Wistia, and other web-video guidance.
Export 1080p lessons at roughly 8 Mbps when a platform has not specified its own target.[3] Udemy Business suggests 10 Mbps for 1080p H.264, while Wistia recommends 5,000 to 8,000 kbps, so a platform’s documented requirement should override a generic preset.[19]
MOV may be accepted by some services, but MP4 is the safer default.[20][21] HEVC, also called H.265, can be accepted by Udemy Business at lower bitrates, yet it is less universally supported and may trigger transcoding, so it is not the first delivery choice.[19]
ProRes is useful as a high-quality intermediate or archive master, but it will usually be transcoded on upload to a course platform.[19] Keep a master if your storage plan allows it, but upload the H.264 MP4 unless the receiving system explicitly requests something else.
Before releasing every lesson, upload one representative file to the actual LMS. Check playback, audio sync, slide text, captions if supplied, and the first and last seconds. Wrong resolution or frame-rate exports are common quality failures, and they are much cheaper to catch before 40 lessons are rendered.[13]
Buy software and hardware for the workflow you have
For editors choosing software in 2026, Adobe Premiere Pro is listed at $22.99 per month on an annual plan, and suits a monthly-subscription workflow.[15] DaVinci Resolve Studio is $295 once, which suits editors who prefer a one-time purchase.[15]
CapCut Pro is listed at $9.99 per month on an annual plan, making it the lowest monthly-priced option in this group.[15] Final Cut Pro costs $299.99 once and is Mac-only, so it suits an editor already committed to macOS.[15]
Movavi Video Editor 2026 costs $23.95 monthly, $69.95 yearly, or $99.95 once, which suits someone who wants a choice between subscription and perpetual licensing.[16] These are reported prices, not a claim that one editor is universally better for course production.
Do not assume a new workstation is the first cure for a slow course edit. Proxies, sensible delivery resolution, clean storage, and uncomplicated timelines solve many responsiveness problems before a GPU upgrade becomes necessary.
If 4K editing is genuinely part of the workflow, Tom’s Guide recommends at least 32GB RAM and calls 64GB ideal, alongside a current Intel Core i7 or AMD Ryzen 7, an RTX 4060 or Radeon RX 6700 XT, and at least 1TB of SSD storage.[17]
That publication also reports that the 2026 global RAM shortage has raised prices and caused delays.[17] Budget accordingly, but keep the order of operations straight: standardise the footage, make proxies, simplify the timeline, then decide whether the machine is actually the bottleneck.
Frequently Asked Questions
How do I edit video for online courses effectively?
Start by structuring the course into lessons based on teaching objectives rather than editing raw footage immediately. Break content into 5 to 15 minute lessons with clear points for definitions, examples, or tasks. Insert interactive elements like quizzes or reflections every 15 to 20 minutes to maintain engagement and support learning.
What are the best video settings for online course videos?
Use a 1920x1080 resolution at 30 frames per second with a 16:9 aspect ratio as the standard sequence setting. Export videos using the H.264 codec in an MP4 container to ensure compatibility with most learning management systems. Avoid 60 fps unless the content involves fast motion, as it increases file size without much benefit for typical instructional videos.
How long should online course video lessons be?
Lessons should generally be between 5 and 15 minutes long to maintain learner attention and deliver a complete idea or procedure. Modules can be 30 to 60 minutes total, segmented into these shorter lessons. For longer modules, include activities or pauses every 15 to 20 minutes to break up continuous video and support retention.
How can proxies improve editing of 4K course videos?
Creating proxies before editing 4K camera files or screen recordings improves editing responsiveness by allowing smoother playback and faster cuts. Proxies are lower-resolution copies used during editing and do not affect the final image quality, which is exported from the original high-resolution media.
What color grading is recommended for online course videos?
Correct exposure and white balance before applying any color grading. Work within the Rec. 709 color space for standard dynamic range (SDR) delivery, and keep color treatment consistent across lessons to maintain a uniform look. Avoid heavy or inconsistent color effects that could distract from the instructional content.
How we researched this
This article was assembled from 23 cited references.
Nothing here is based on hands-on testing. Where a figure or finding appears, it belongs to the source cited beside it, and the writing says so rather than implying otherwise. Every source is listed below so you can check it.
Sources
- Duration matters: comparing learner engagement and sentiment in short- and long-form business English educational videos on YouTube | Humanities and Social Sciences Communications
- Video Resolution Guide: Key Facts and What to Use
- Seedance Video Length & Resolution Guide 2026: Settings, Quality & Best Practices | Seedance
- Online Course Lengths in 2026: How Long Should Your Course Be? - SchoolMaker
- Online Course Module Length: Ideal Video and Lesson Duration Guide | Letter Counter
- Course Lesson Length Best Practices: How Long Should Your Online
- 02 Proxies (“offline” editing online)
- Color Grading Basics for Video: A Beginner's Guide | Wide Open Gear
- Color Theory for Video Editors - Adobe Video World
- What is colour grading? Everything you need to know
- What Is Color Grading? A Complete Guide for Video Producers (2026) | Ruah Creative House
- AI Color Grading for Video 2026 | Videographer Workflow | Steven Video Production
- 15 Video Editing Mistakes Beginners Make (and How to Fix Them)
- Common Video Editing Mistakes Beginners Should Avoid | Bidmonline
- Adobe Premiere Pro Price 2026: Best Video Editors | BizTechScout
- Movavi Video Editor 2026: An affordable and feature-packed non-linear video editor
- I edit video for a living - and this is how much RAM you need in 2026
- Video Compression Guidelines | Viostream Help
- Video standards – Udemy Business
- Supported Video Formats in LearnWorlds : LearnWorlds Help Center
- What are the best video export recommendations? | Pic-Time Help Center
- Short, Long, and Segmented Learning Videos: From YouTube Practice to Enhanced Video Players | Technology, Knowledge and Learning | Springer Nature Link
- Filmora Proxies Tutorial
Related Articles
Edit Video for Educational Content
Learn how to edit video for educational content with tips on timelines, proxies, codecs, and color correction for engaging teaching videos.
Edit Video for Social Media: Tips on Formats, Length & Color
Learn how to edit video for social media with tips on formats, length, proxies, and color grading for optimal engagement and platform compatibility.
Travel Vlog Video Editing: Workflow, Proxies & Colour Tips
Learn travel vlog video editing with tips on workflow, proxies, colour grading, and pacing to create engaging travel videos efficiently.
Documentary Video Editing Techniques
Learn documentary video editing techniques including proxy workflows, timeline settings, codecs, and color grading for smoother, high-quality edits.