
Video Editing Proxies for Beginners: Tips and Best Practices
Learn video editing proxies for beginners with tips on codecs, resolutions, and workflows to optimize editing performance and quality.
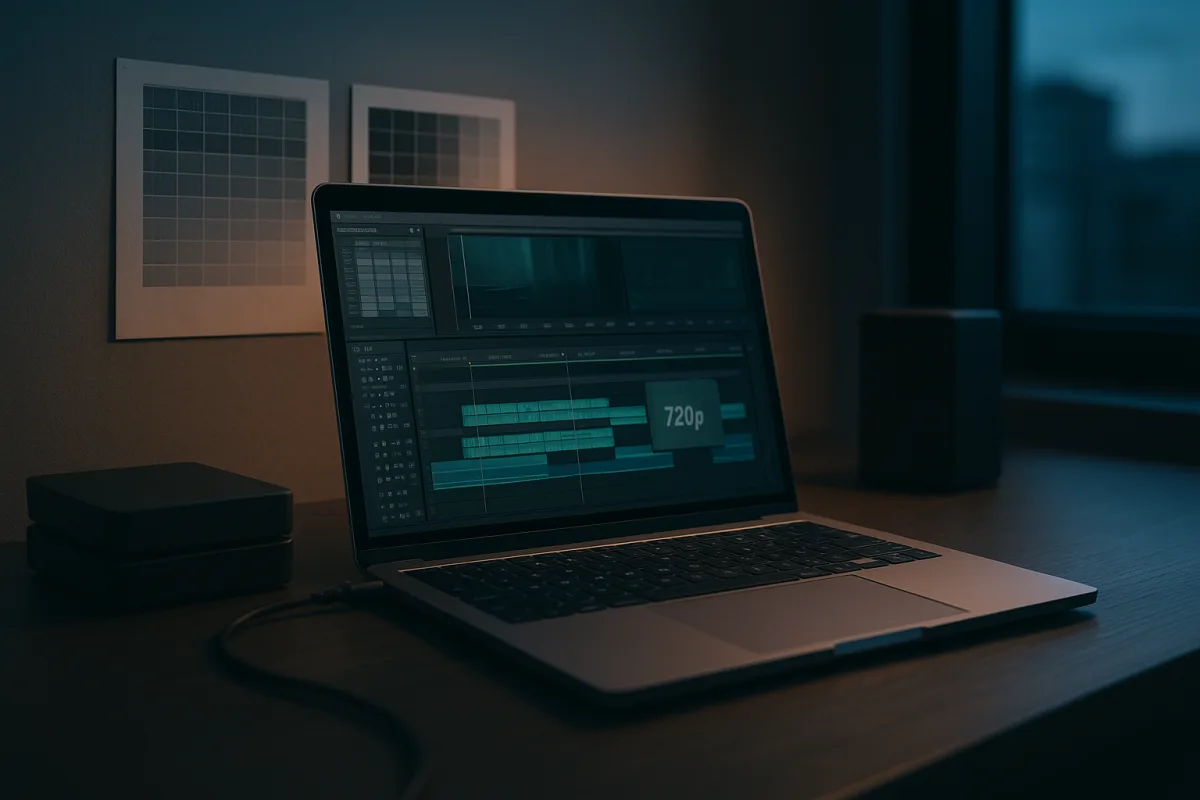
The beginner skill that saves the most time: proxy editing
New editors are often told to learn cuts, music timing, captions and colour. All useful. But the workflow that prevents the most deadline damage is proxy editing: making lighter copies of heavy camera files, then editing those copies while preserving the originals.
A proxy is not a compressed export of your finished film. It is a deliberately easier version of each source clip, linked back to the high-quality original. The timeline uses the proxy for playback, while the final export uses the original media. [9][20]
This matters because modern source footage is frequently difficult to decode. A 4K H.264 or H.265 clip can be relatively small on disk yet make a perfectly respectable laptop stutter, particularly once you add multicam angles, stabilization, noise reduction, colour corrections or titles.
The usual beginner response is to blame the computer, then buy hardware. Sometimes that is justified. More often, the immediate problem is asking the computer to decode camera-delivery codecs in real time while also running an editing application and effects stack.
A proxy workflow changes the job. Instead of repeatedly decoding the original 4K file, the NLE reads a lower-resolution, edit-friendly copy. Scrubbing becomes responsive, playback holds frame rate more reliably, and the editor can judge timing rather than waiting for the playhead.
That is not an argument for shooting worse footage. It is an argument for separating acquisition from editing. Keep the camera originals because they contain the quality you paid for. Generate files that let you actually finish the cut.
What the proxy file is doing
Every clip in an edit has a few properties that matter here: resolution, frame rate, codec, bitrate and audio configuration. A proxy should change the first, often change the codec and bitrate, but preserve the timing properties that keep it aligned.
Resolution is the pixel dimension. A 4K clip may be 3840 by 2160 pixels. A common proxy is 1920 by 1080, usually called 1080p, or 1280 by 720, called 720p. [9][20]
A 1080p proxy is the sensible default for most beginners. It preserves enough visual detail to judge focus, framing, interview reactions and graphics placement, without making the computer process every pixel from a 4K original.
Use 720p when the machine is still struggling, or when the footage is exceptionally demanding. The cost is simple: small details are less visible. Fine focus errors, tiny text and subtle masking work may need checking against the originals before picture lock.
Frame rate is not optional. If the original is 23.976, 24, 25, 29.97 or 30 frames per second, create a proxy at that same rate. A mismatch can produce drift, awkward motion or sync problems that look like bad editing. [9]
Audio needs the same caution. Keep audio settings consistent between proxy and original media so dialogue stays attached to lips and external sound recordings remain usable. [9] If the proxy sounds different, it is harder to make editorial decisions with confidence.
The proxy bitrate is the amount of data used per second. A practical recommended range is 10 to 20 Mbps. [9] Lower bitrates create smaller files, but can make fine image detail break up. Higher bitrates consume more storage without necessarily improving editing responsiveness.
Codec matters more than beginners expect
Codec is the method used to compress and decode video. It is not the same thing as the filename extension. An MP4 file can contain H.264, for example, while a MOV file may contain ProRes. Do not choose based on the extension alone.
Apple ProRes Proxy is a strong proxy choice for Mac-based workflows. Avid DNxHR LB is the cross-platform alternative worth knowing, particularly if project files or proxy media may move between Windows and macOS systems. [9][17]
Both are designed to be comparatively easy for an editing system to decode. Their files can be larger than H.264 proxies, but the point is smoother work, not winning a storage-efficiency contest. Playback performance is a workflow result, not a file-size competition.
H.264 proxies are tempting because they are compact and familiar. The catch is that H.264 can be harder for a CPU to decode than ProRes Proxy or DNxHR LB, so the supposedly lightweight proxy may still perform badly on a complex timeline. [9][17]
If storage is tight and H.264 performs acceptably on your specific computer, it remains an option. But if playback skips, do not keep lowering resolution blindly. Try an edit-friendly codec first. That change can save an hour of pointless rendering and troubleshooting.
I have not tested every NLE or codec configuration named here, and the research brief provides no cross-software benchmarks. The reliable principle is narrower: use a low-resolution copy that preserves timing, then select a codec your editing system can decode smoothly.
The actual workflow, before the timeline becomes a mess
Start with folders, not a sequence. Thebes Guide recommends a numbered structure, such as 01_Project_Files, 02_Footage, 03_Audio and separate exports folders. [10] That is not administrative fussiness. It prevents accidental relinking to the wrong files later.
Inside footage, divide material by shoot day and camera. A workable filename pattern is date_project_camera_clip description. For example: 20261012_ClientFilm_Acam_Interview_001. You should be able to identify a clip without opening it.
Import the camera originals into the NLE first. Then use that NLE’s proxy creation or attachment process, where available, to generate and link the proxies. Do not manually replace originals in the project with low-resolution copies and hope to swap them back later.
Once proxies are attached, enable the proxy-viewing toggle and cut normally. Add markers for client notes, sound problems, replacement shots and points that need colour work. Bins, labels and colour coding help separate selects, rejects, music and graphics. [10][11]
Before you export, disable proxy viewing or use the application’s final-export option that automatically renders from original media. Check this deliberately. A beautifully edited video delivered at 720p because the proxy stayed enabled is a workflow mistake, not a creative one.
Back up the project file and keep the folder structure intact. A cloud copy or external drive backup protects the edit, but it also preserves the relationship between project, proxies and originals. [10] Randomly moving folders after editing begins is how relinking becomes an evening.
Software choice changes how easy this is
There is no objectively best beginner editor. The right choice depends on whether the immediate job is quick vertical social work, a longer-form edit, colour learning, VR material or a low-spec browser workflow. The price model matters too.
CapCut is free and suits quick mobile or short-form editing, including people who need to cut social videos without a conventional desktop setup. Medium writer Mariennova describes editing more than 100 viral videos on a phone with CapCut. [1]
CapCut Desktop has an 8GB RAM minimum and can run with integrated graphics, making it comparatively accessible. [3] Its limitation is that it lacks the advanced colour-grading and proxy workflow capabilities associated with DaVinci Resolve 20, so it is not the complete post-production classroom.
DaVinci Resolve 20 has a free version and a $295 Studio version, with the free tier suited to beginners who want to learn a more comprehensive editing and colour workflow. [3] The practical entry price may still be hardware, not software.
Resolve 20 requires at least 16GB of RAM, with 32GB recommended for 4K work. [3][8] If your laptop has 8GB, installing the free version does not make it a free solution. Use proxies, but be realistic about the machine’s limits.
Adobe Premiere Elements 2026 costs $99.99 as a one-time purchase and suits beginners who specifically need 360-degree or VR editing support. [4] Digital Camera World characterizes it as feature-rich but warns that it can get complicated fast, which matters for true newcomers. [4]
Wondershare Filmora costs $49.99 per year and suits users who want an accessible editor with AI-oriented features without moving immediately into a more demanding professional application. [2][3] Its recurring annual payment is the trade-off against a one-time license.
Microsoft Clipchamp is free with Microsoft 365 and suits simple browser-based editing when you have stable internet and a current browser. [3] Premium features require a subscription, but the research brief does not provide a specific premium price, so do not assume the free tier covers every need.
None of these choices substitutes for media management. CapCut and Clipchamp can reduce the barrier to getting started. Resolve gives more room to learn post-production. But a disorganized project, mismatched frame rates or an unplanned export will cause trouble in every application.
Hardware: solve the workflow before shopping
For 1080p editing, the research brief lists a six-core Intel Core i5-12400 or AMD Ryzen 5 5600, 16GB RAM and an NVIDIA GTX 1650 with 4GB VRAM as a minimum baseline. [8][18]
For smoother 4K editing and more demanding effects, the recommended level is an eight-core Intel Core i7-13700 or AMD Ryzen 7 7700X, 32GB RAM and an RTX 3060 or 4060 with 8GB or more VRAM. [8][18]
Storage deserves equal attention. Use a 1TB NVMe SSD for the operating system, applications, active project files and cache, then use 2TB or larger hard-drive storage for media where appropriate. [18] Proxy files also need a home, so budget capacity before generating them.
Do not assume 4K originals require a workstation before you can begin. A proxy workflow allows a modest system to edit material it cannot play natively. Conversely, expensive hardware does not fix a project where clips, music, graphics and versions are scattered everywhere.
Keep the final finish separate from the proxy decision
Proxies improve editorial performance. They do not grade the picture, repair exposure or choose delivery settings. When you reach colour, work from the original-quality source and use scopes, including waveform, vectorscope and RGB parade, rather than trusting a bright screen. [13][14]
If footage was shot in log, convert it to Rec. 709 before applying a LUT. [13][15] Applying a creative LUT directly to log footage is a common route to crushed blacks, clipped highlights, oversaturation and inconsistent shots.
Modern smartphones can offer more grading flexibility than older assumptions suggest, including ProRes RAW on the iPhone 17 Pro Max. [13] Still, do not grade simply because the controls exist. Match shots, protect natural skin tones and make restrained corrections first.
For YouTube, export 1920 by 1080 in a 16:9 frame, using MP4 with H.264, Rec. 709 colour and AAC stereo audio at 48 kHz. Use roughly 8 Mbps for 1080p at 30 fps, or 12 Mbps at 60 fps, while matching source frame rate. [16]
For TikTok, make the sequence vertical from the start: 1080 by 1920 at 9:16. The briefing recommends constant 60 fps, MP4 H.264 and 15 to 25 Mbps with clear stereo audio. [12] Do not crop a finished landscape edit at the last minute.
The beginner habit to build is simple: originals are for quality, proxies are for speed, organized folders are for survival. Once that distinction becomes routine, you spend less time watching a spinning progress indicator and more time making decisions that survive delivery.
Frequently Asked Questions
What are video editing proxies and why use them?
Video editing proxies are lower-resolution, easier-to-decode copies of original camera files used during editing. They allow smoother playback and more responsive scrubbing by reducing the decoding load on the computer, especially when working with high-resolution footage like 4K. Proxies help separate acquisition from editing, enabling editors to work efficiently without sacrificing the quality of the final export.
How do I create proxies for smoother video editing?
Create proxies by generating lower-resolution versions of your original clips, typically at 1080p, and only drop to 720p if your computer still struggles with playback. Keep the proxy frame rate identical to the original footage to avoid sync issues. Use an edit-friendly codec such as Apple ProRes Proxy on Mac or Avid DNxHR LB for cross-platform compatibility, and maintain consistent audio settings between proxy and original files.
Which proxy codecs are best for beginner editors?
Apple ProRes Proxy is recommended for Mac users, while Avid DNxHR LB is a good cross-platform choice. These codecs are designed to be easier for editing systems to decode, improving playback performance. Although H.264 proxies have smaller file sizes, they may not provide as smooth an editing experience as ProRes Proxy or DNxHR LB.
How do proxies improve video editing performance?
Proxies reduce the computational demand by replacing high-resolution, hard-to-decode originals with lighter, edit-friendly copies. This makes timeline playback more responsive and stable, allowing editors to judge timing and make decisions without waiting for laggy playback. Using proxies prevents the need for constant decoding of complex camera codecs during editing and effects application.
What is the best proxy resolution and frame rate?
Start with 1080p resolution proxies as the default, and only use 720p if your system still struggles with playback. The proxy frame rate should always match the original camera footage exactly to prevent drift, motion issues, or sync problems. Maintaining the same frame rate ensures that proxies stay aligned with the original media throughout the editing process.
How we researched this
This article was assembled from 20 cited references.
Nothing here is based on hands-on testing. Where a figure or finding appears, it belongs to the source cited beside it, and the writing says so rather than implying otherwise. Every source is listed below so you can check it.
Sources
- How I Ditched My MacBook and Edited 100+ Viral Videos in 2026 Using Only CapCut on My Phone | by Mariennova | Medium
- 10 Best AI Video Editing Software for Beginners in 2026 | VFX AI
- Best Video Editing Software 2026 | Toolradar
- Adobe Premiere Elements 2026 review: The latest edition of Adobe's beginner-friendly video editor is feature-rich, but can get complicated fast
- Filmora Crack Free Download — Wondershare Filmora 2026 Video Editor Install Guide | CrackHive
- Best Video Editing Software for Beginners 2026: Top 5 Ranked
- Best Editing Software for Beginners 2026: 7 Honest Picks - VideoShufflr YouTube Growth Blog
- I edit video for a living - and this is how much RAM you need in 2026
- What Are Proxies in Video Editing—and When Should You Use Them?
- Organizing a Video Editing Project and Its Files | Thebes Guide
- Best Strategies for Organizing Large Video Projects in Editing Software | Next Byte Media
- Best TikTok Video Size & Export Settings (2026) | Haze Method
- Color Grading in Film: A Practical Guide for Brand Video (2026) - LocalEyes Video Production
- 9 Color Grading Mistakes That Make Videos Look Amateur
- Five colour grading mistakes to avoid and how to fix them | Learn the Craft
- How to Edit Videos on Windows (2026) - TechnoWifi
- Premiere Pro proxy editing without filling your SSD (2026) | Sanbila
- Best video editing computer of 2026: Expert-tested pro PC picks for video editors and content creators
- Edit MP4 Videos Easily: A Beginner's Step-by-Step Tutorial
- What is proxy editing? – Camera Shop
Related Articles
Video Editing Techniques for Corporate Videos
Learn effective video editing techniques for corporate videos, including timelines, proxies, codecs, and color grading best practices.
Edit Video for Live Events
Learn how to edit video for live events with tips on timelines, proxies, codecs, syncing, and color grading for smooth, efficient post-production.
Video Editing on a Budget: Best Practices for 2026
Learn best practices for video editing on a budget, including proxy workflows, codecs, and affordable hardware tips for efficient editing.
Post Production Budgeting for Video Editing
Learn how to create a post production budget for video editing, covering labor, proxies, codecs, color grading, and delivery requirements.