
Edit Video for Live Events
Learn how to edit video for live events with tips on timelines, proxies, codecs, syncing, and color grading for smooth, efficient post-production.
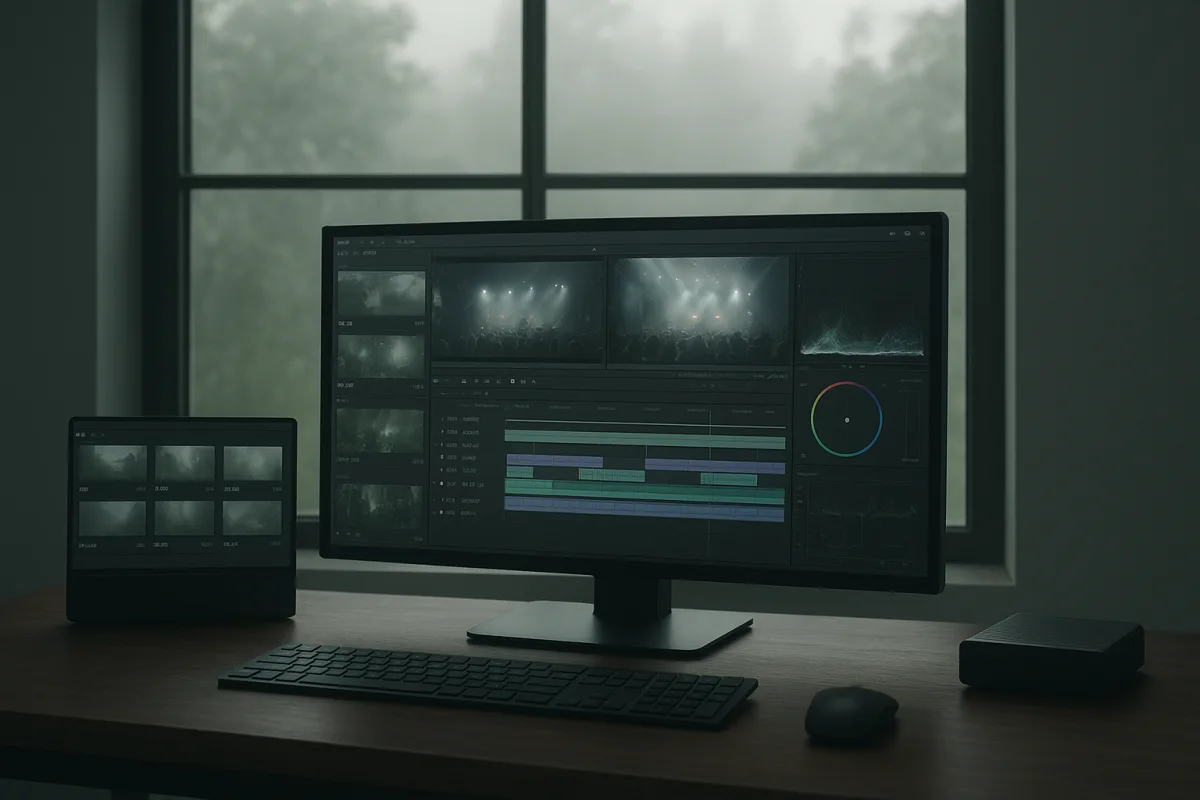
Before the event starts: agree the timeline, not just the shoot
The live-event edit usually goes wrong before the first card is copied. The producer asks for “4K,” one camera operator records 60 fps for safety, another records 30 fps, and nobody decides whether the final programme is 30 or 60.
Choose the delivery frame rate first, then set every camera to match it. Videomaker’s multicamera guidance emphasises consistent camera settings, and this matters most when you are cutting speakers, musicians, audience reactions and projection screens together. [5]
For a conventional corporate stream, conference recap or social cutdown, 30 fps is usually the simpler choice. Use 60 fps only when the event genuinely needs motion detail, such as sport, dance, fast demonstrations or planned slow motion.
Mixing 30 fps and 60 fps is technically possible in DaVinci Resolve 21, Adobe Premiere Pro and Apple Final Cut Pro. It is not free. Someone must decide how the 60 fps clips are interpreted, whether they are retimed, and how motion cadence should look.
Set one working resolution too. A 4K UHD timeline gives room to reframe a wide stage shot, but it also raises storage, proxy and render costs. A 1080p timeline remains sensible when the final destination is an HD stream or fast-turnaround social delivery. [13]
Do not treat a timeline setting as a cosmetic choice. Changing frame rate after substantial editing can create conform, audio-sync and render surprises, particularly in software that locks sequence settings once media has been edited into it.
While the event is happening: make the handoff editable
Live footage arrives as a pile of cards, drives and partial recordings. Your first job is not grading. It is confirming that every card copied completely, that the camera IDs are clear, and that audio has not been separated from its picture.
Build a folder structure that a tired assistant can follow at 1 a.m. A practical layout is EventName_Date/Camera_A, Camera_B, Audio, Graphics, Project_Files, Proxies, Exports and Archive.
Use filenames that contain the date, project, camera identifier and clip description. Archiving guidance from WITNESS recommends meaningful, consistent names because file names often outlive the edit system and the person who originally organised the job. [18]
For example, 2026-09-09_Conference_CamA_Keynote_001 tells you more than C0001. It also makes it possible to spot whether a camera card is missing before you begin building a multicamera sequence.
There is no strong evidence in the supplied research for a universal proxy naming convention or an automated metadata-tagging tool that solves live-event organisation. Do not invent a complicated database workflow on event day. Use clear folders and repeatable names. [7][8]
Copy media to at least two destinations before cards are reused. Tone Production’s workflow guidance treats verification and organised backups as part of the shoot process, not a later administrative task. [8]
If the show is still underway, prioritise the material needed for immediate edits: programme feed, keynote camera, clean audio, logo assets and any approved lower thirds. A same-day social edit has different needs from an archival full-session delivery.
Start with sync and coverage, not the “best” shots
Once the cards are safe, create a multicamera source sequence or equivalent grouped clip. Use timecode when it is reliable. If it is not, sync from a clear audio reference, such as the mixing desk feed or camera scratch tracks.
Check sync at the start, middle and end of long sessions. A camera that was aligned at the opening walk-on can drift later, especially when devices were started separately or recordings were stopped and restarted between sessions.
Do not build the first pass from every angle. Start with the camera that carries the event: usually a clean programme feed, a locked wide, or the best continuously recorded speaker angle. Add cutaways only where they solve a problem.
That order matters. A live event often contains blocked sightlines, a presenter turning away, an operator repositioning or an audience member crossing frame. The cutaway is not decoration. It is how you hide an unusable primary shot.
Make a “must-cover” pass before polishing. Mark applause, slide changes, demonstrations, questions, walk-ons, walk-offs, technical failures and audience reactions. Those are the points where the edit needs either visual coverage or a deliberate decision to stay wide.
Make proxies before the timeline becomes painful
Do not assume that a new workstation will make original camera files pleasant to edit. Long-GOP H.265 footage is compact, but it is computationally expensive to decode, particularly in multicamera timelines with colour effects and noise reduction.
The supplied research supports H.264 proxies in MP4 or MOV containers with AAC audio as a practical editing format. H.264 is less efficient than H.265, but it is broadly supported and generally easier to play back smoothly. [17]
Start with 1920 by 1080 proxies at roughly 5,000 Kbps. If the project is mostly talking heads, wide stage shots and basic cuts, 1280 by 720 at about 2,500 Kbps can be enough for responsive editing. [17]
Those are starting points, not a universal live-event standard. The right proxy size depends on the source resolution, number of active angles, effects stack, storage speed and the editor’s machine. The research does not establish one optimal proxy bitrate for every event.
Keep proxy audio intact. Editing picture against a separate low-quality scratch track is how an apparently minor relink turns into an hour of checking entrances, applause and speaker handoffs. Confirm that proxies attach to the correct originals before cutting seriously.
A useful test is simple: open a multicamera section with your heaviest likely load, switch angles, play at full speed and add the basic colour correction you expect to use. If playback falls apart, reduce proxy resolution before blaming the NLE.
Choose codecs by destination, not by fashion
H.265, also called HEVC, can reduce file sizes dramatically compared with ProRes 422. One file-size comparison puts ProRes 422 at about 4.4 GB per minute and H.265 at about 225 MB per minute, illustrating why efficient delivery codecs matter on deadline. [12]
That does not mean H.265 should be your default live-stream codec. YouTube supports H.265 and AV1, but continues to recommend H.264 broadly for live encoding. Twitch and Facebook also centre their live requirements on H.264. [14][20]
For a normal event stream, export or encode H.264 when compatibility matters more than squeezing every megabyte. It is the boring answer, which is exactly why it is useful when the client is waiting for a link and the platform must accept it.
Use H.265 when the receiving service, player and client workflow have been verified, and when reduced upload size meaningfully helps. It can be a good delivery choice for large 4K files, but it is not automatically the quickest route through post-production.
Do not build a current workflow around VVC, also called H.266. It promises up to 50 percent better compression than HEVC and has appeared in experimental regional broadcasts, but practical adoption for ordinary live-event editing remains early and uncertain. [16]
For an editing master, a higher-quality intermediate may still be appropriate when the job requires repeated revisions, grading or handoff. The point is to distinguish a working master from a streaming file, rather than exporting one compromised file for every purpose.
Fix colour in the order the room created the problems
Stage lighting is hostile to consistency. LED walls, coloured washes, moving lights and mixed practical fixtures can change exposure and colour temperature between two adjacent camera angles, sometimes during a single sentence. [9][10]
Start correction with the camera profile and white balance. Match the wide shot and primary close-up first, because viewers notice a speaker changing skin tone more quickly than they notice that a background light is slightly different.
Use scopes rather than trusting a laptop display in a venue office. Waveform and vectorscope views help identify exposure and colour differences that your eyes may adapt to after staring at the same blue stage wash for twenty minutes.
Rec. 709 remains the established standard for HD and SDR editing and grading. Keep the project there when delivery is standard web video, standard presentation playback or an ordinary HD live stream. [6]
HDR needs more planning than flipping a project switch. The supplied research does not establish detailed HDR timeline, grading or export settings for live events, and platform requirements vary. Get the required colour space and delivery specification from the destination before you grade.
Flicker deserves its own check. LED fixtures and screens can produce brightness variation or rolling bands that are not obvious until playback. Test a few difficult shots at normal speed before committing to a grade across an entire session. [9]
When flicker, noise or mixed lighting is unavoidable, use the least aggressive correction that solves the visible issue. White-balance correction, temporal filtering, noise reduction and camera matching are recognised tools, but heavy processing can slow the timeline and create artefacts. [10][11]
Plan delivery around the actual turnaround
A same-day social cut may need to leave within hours. Highlight reels commonly take two to four weeks, while full-session edits can take one to three weeks, according to event-video turnaround estimates from JLM Studios Adelaide. [19]
That range is a scheduling reminder, not a promise to a client. A same-day cut should be designed around footage you can ingest, proxy, review and approve immediately. It should not depend on repairing every camera mismatch from a twelve-hour show.
Export a short approval file first when time is tight. Check that titles are spelled correctly, slides are legible, audio has not drifted and the requested platform accepts the codec. Then make the higher-resolution delivery from the approved timeline.
DaVinci Resolve 21, Adobe Premiere Pro and Apple Final Cut Pro are all established professional options, but the supplied research does not support naming one as the best live-event NLE. [1][2][3] The practical choice is the one your team can sync, proxy, grade and deliver from reliably.
Hardware should follow the bottleneck. The research identifies the Apple MacBook Pro 16-inch with M5 Max and ASUS ProArt P16 as portable editing options, while the BenQ PD3225U and Asus ProArt PA279CRV are cited as colour-accurate 4K monitor options.
The same research also identifies the TourBox Elite Plus as a customisable editing console that can speed repetitive controls. It does not provide independently verified current prices or live-event benchmarks for these products, so a price comparison would be speculative.
Prioritise CPU and GPU capability, fast storage and a calibrated display before buying accessories. A calibrated monitor helps you make consistent colour decisions. More importantly, proxies, organised media and locked timeline settings prevent the delays that hardware alone cannot fix.
Frequently Asked Questions
How do you set up a timeline for live event video editing?
Before the event, decide on a single delivery frame rate and resolution and set every camera to match these settings. Mixing frame rates like 30 fps and 60 fps is possible but complicates syncing and retiming. Choose a resolution appropriate to the final output, such as 1080p for HD delivery or 4K if reframing is needed, and avoid changing timeline settings after editing begins to prevent sync and rendering issues.
What is the best proxy workflow for live event editing?
Edit camera originals only briefly to verify them, then generate H.264 proxy files with AAC audio for smoother editing. A practical proxy resolution and bitrate start point is 1080p at about 5,000 Kbps, or 720p at about 2,500 Kbps for less powerful systems. Use clear folder structures and consistent, descriptive filenames to keep proxies and originals organized, but avoid complicated metadata tagging on event day.
How do you sync multiple cameras in live event editing?
Create a multicamera source sequence using reliable timecode when available. If timecode is unreliable, sync cameras using a clear audio reference such as the mixing desk feed or camera scratch tracks. Verify synchronization at multiple points during long sessions to detect any drift caused by devices starting or stopping at different times.
Which codecs are recommended for live event video delivery?
H.264 is the recommended codec for most live-streaming platforms including YouTube, Twitch, and Facebook due to broad compatibility and platform requirements. Although newer codecs like H.265 (HEVC) and AV1 offer better compression, they have limited adoption and higher processing demands, making H.264 the practical standard for live event delivery as of 2026.
How do you manage color grading for live event footage?
Keep the edit in Rec. 709 color space for standard HD or SDR web video deliveries and avoid mixing HDR material without a clear color management plan. Budget time for white balance correction, flicker treatment, noise reduction, and camera shot matching, especially under stage LED lighting, as these adjustments often save more time than faster hardware and improve final image consistency.
How we researched this
This article was assembled from 20 cited references.
Nothing here is based on hands-on testing. Where a figure or finding appears, it belongs to the source cited beside it, and the writing says so rather than implying otherwise. Every source is listed below so you can check it.
Sources
- Best Video Editing Software 2026 — DaVinci Resolve vs Premiere Pro vs CapCut vs Final Cut Pro Compared | LogicalRefer
- I'm a video editor and this is the best video editing software of 2026 for creative professionals and creators
- The best video editing software in 2026
- Best Live Streaming Encoders 2026 | Dacast
- Are you checking these 6 things before a multicamera shoot? - Videomaker
- What is colour grading? Everything you need to know
- How to Organize Your Video Footage and B-Roll | Video Asset Manager
- How To Back Up And Organize Footage On A Shoot: A Pro Workflow Guide
- Wicked Behind Scenes: Technical Challenges in Stage Production Filming | ReelMind
- Color Grading for Live Events · Theme
- Maintain Consistent Color Grading in Live Streams | Resi
- Video File Transfer Time by Format and Resolution | DevToolbox
- Video Resolution Explained: 1080p, 4K, 8K Sizes & How to Upscale (2026)
- Streaming Platform Limits Compared (2026) | TheLoops
- Best Video Formats for Live Streaming in 2026
- Encoding Formats | IWA Video & Audio Codec Specifications
- Recommended codecs, bitrates, and file types | MediaZilla Help Center
- WITNESS Archiving | Archiving Video - Best Practices for Naming Files
- How Long Does Event Video Editing Take? Turnaround Times | JLM Studios
- Choose live encoder settings, bitrates, and resolutions - YouTube Help
Related Articles
Travel Vlog Video Editing: Workflow, Proxies & Colour Tips
Learn travel vlog video editing with tips on workflow, proxies, colour grading, and pacing to create engaging travel videos efficiently.
Documentary Video Editing Techniques
Learn documentary video editing techniques including proxy workflows, timeline settings, codecs, and color grading for smoother, high-quality edits.
Video Editing Techniques for Corporate Videos
Learn effective video editing techniques for corporate videos, including timelines, proxies, codecs, and color grading best practices.
Edit Video for Social Media: Tips on Formats, Length & Color
Learn how to edit video for social media with tips on formats, length, proxies, and color grading for optimal engagement and platform compatibility.