
Export Video for Different Platforms: Best Settings Guide
Learn how to export video for different platforms with optimal settings for frame rate, resolution, color, and format to ensure quality delivery.
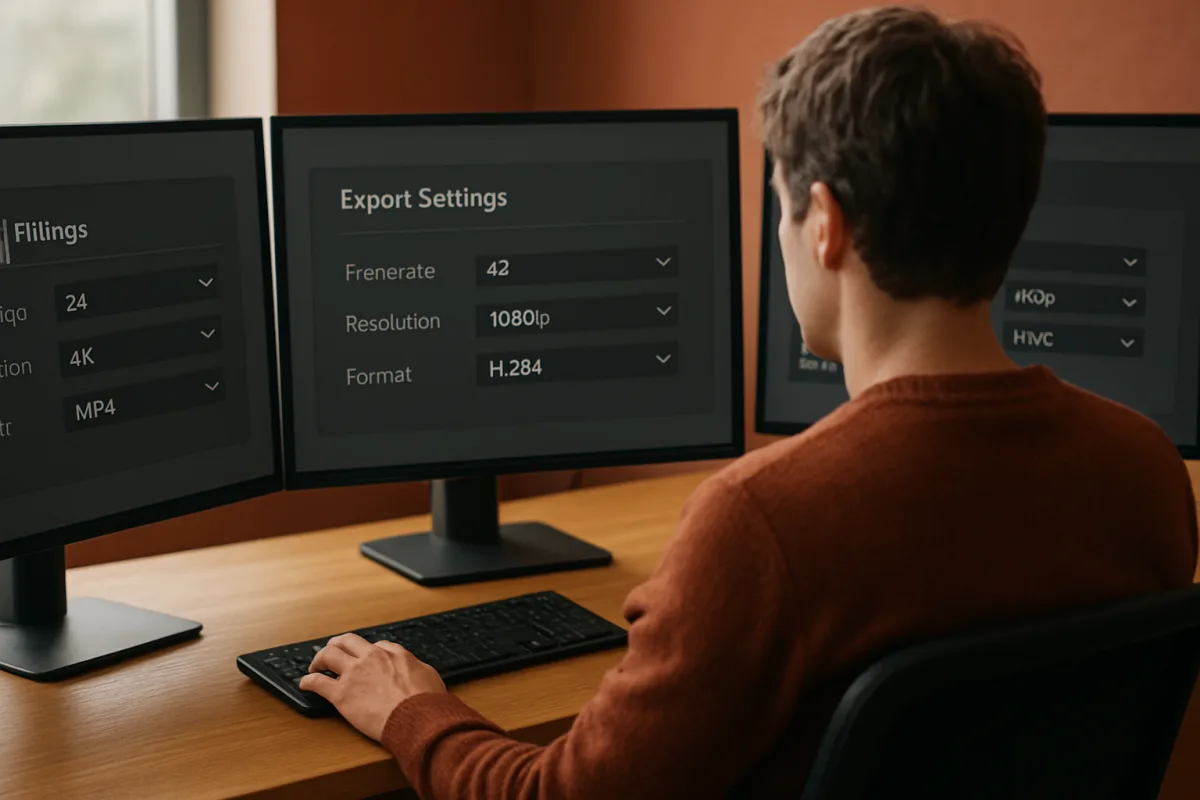
Start by identifying the actual deliverable
The export problem usually starts before the Export page. A client asks for “a social version,” then expects YouTube, Reels, TikTok, Facebook Feed and Facebook Stories from one timeline. Those are different deliverables, not one format with different filenames. [6][13]
Write down the platform, orientation, upload method, final duration and whether the video is SDR. That small handoff note prevents the familiar 4K horizontal master being cropped badly into a vertical Reel at the last possible minute.
For standard dynamic range work, use Rec.709 consistently through the timeline and final export. It remains the common SDR expectation across YouTube, Instagram and TikTok, and avoids avoidable shifts caused by exporting one colour interpretation into another. [1][12]
Do not assume a platform needs a special regional preset. The available guidance found no meaningful region- or device-specific variations for YouTube, TikTok or Instagram in October 2026. The practical differences are platform and upload method, not geography.
Make the master before making platform versions
Finish a clean master timeline first. Confirm the edit at its intended source resolution and frame rate, check captions and graphics, then duplicate the sequence or timeline for vertical and square versions rather than repeatedly reshaping the master.
Repeatedly exporting, reimporting and exporting again is a quality loss disguised as a workflow. Review files, approval files and final platform uploads should be separate exports generated from the finished timeline, not generations of the same compressed MP4. [7][17]
If the job used proxies, verify that the NLE is set to export from original camera media or high-quality full-resolution transcodes. Proxies make editorial smoother, but a low-quality proxy can misrepresent sharpness, noise, colour and fine text during both review and final output. [10][17]
This is a workflow check, not an argument against proxies. A properly built proxy workflow saves time. The failure comes when an editor grades or signs off using proxies too poor to show what the final media actually contains.
Before creating vertical versions, review every lower third, subtitle and call to action. Instagram’s interface-safe areas do not have one universally standard measurement, so keep important information central and away from the extreme top and bottom edges. [2][4]
Set the frame before you worry about bitrate
For YouTube, match the source resolution and frame rate. A 4K 25 fps documentary should generally leave as 4K 25 fps, rather than becoming 30 fps because an export preset happened to default there. YouTube supports common rates including 24, 25, 30, 48, 50 and 60 fps. [1]
For Instagram Reels and Stories, build a 1080 by 1920 timeline or export frame. That is 9:16 vertical at 1080 pixels wide by 1920 high, with 30 fps the standard delivery choice. [2][3][4]
TikTok uses the same 1080 by 1920, 9:16 target. Deliver 30 fps for ordinary talking-head, product or editorial clips. Use 60 fps when motion is genuinely fast enough to benefit, rather than doubling the data rate on a static interview. [5][11]
Facebook Feed is the exception that catches teams using a single vertical workflow. It supports several shapes, including 16:9, 1:1, 4:5 and 9:16, with common resolutions spanning 1080 by 1080 through 1920 by 1080. Choose based on placement, not habit. [6][14]
Facebook Stories are simpler: export 1080 by 1920 at 9:16. Treat them like a separate vertical deliverable even when they share shots with a Feed cut, because a Feed-safe crop can leave Story titles underneath interface elements. [6]
Use H.264 MP4 unless you have a defined reason not to
For the platforms covered here, MP4 with H.264 video is the safe compatibility setting. YouTube’s recommended combination also includes AAC-LC audio and Rec.709 colour, while Instagram and TikTok guidance likewise centres on H.264 video, AAC audio and MP4 files. [1][2][5]
H.265, also called HEVC, can produce a smaller file at comparable quality, but it is not the safest general handoff choice because support is less universal. Use it only where the receiving platform, client workflow and upload path are explicitly known to accept it. [13][17]
That is why an editor should resist codec fashion. H.264 is not exciting, but it is dependable. For a deadline delivery, dependable is usually the feature that matters, especially after a client has already approved the picture.
In Adobe Premiere Pro, Adobe’s social export guidance is useful for selecting a platform-appropriate format and frame shape, but it does not remove the need to inspect the resulting file. Check the exported resolution, frame rate, codec and audio details before upload. [19]
The same principle applies in other NLEs. Names and menu locations vary between DaVinci Resolve, Final Cut Pro and Premiere Pro versions, so do not copy a tutorial’s clicks blindly. Verify the resulting media properties, not just the preset label.
Choose a bitrate that suits the platform and frame rate
For 1080p YouTube uploads at 24 to 30 fps, use 8 Mbps as the practical target in the available guidance. At higher resolutions and frame rates, increase it, with 4K at 60 fps reaching as high as 68 Mbps. [1]
Those YouTube bitrate figures should be treated as delivery guidance rather than a law of physics. Published recommendations can differ slightly, and complex footage such as water, smoke, confetti or handheld foliage needs more care than a locked-off interview. [1][15]
Instagram Reels guidance points to 5 Mbps for a 1080 by 1920, 30 fps H.264 export. More bitrate is not automatically a visible win once the platform recompresses the upload, while an unnecessarily huge file can slow an already fragile upload process. [2][4]
For TikTok, use about 5 Mbps at 30 fps. If delivering 60 fps fast-motion material, the guidance rises to roughly 8 to 10 Mbps. Keep the file in MP4 with H.264 video and AAC audio. [5][11]
Facebook permits files up to 10 GB, though guidance recommends keeping them below 4 GB. Facebook Stories have a 4 GB maximum. Those are ceilings, not targets, and should not be mistaken for a reason to export every short social clip at master-level bitrates. [6][14]
Do the audio pass before the upload pass
Use AAC stereo audio for all four major destinations. For YouTube, the available guidance specifies AAC-LC and 320 kbps, while a practical social delivery target is integrated loudness around -14 LUFS with true peaks below -1 dBTP. [1][17]
That does not mean every platform preserves loudness identically. It means you should deliver a controlled mix with sensible headroom, instead of letting clipped dialogue, an over-limited music bed or an accidental mono export become somebody else’s problem.
Listen to the final export, not only the timeline. Check the first second, dialogue transitions, music edits, captions and the final frame. Many failed uploads are technically compliant but contain a muted track, wrong channel mapping or a bad final render. [7][8]
Check duration and file limits before rendering a long cut
Instagram Reels are best planned around 90 seconds when engagement is the goal, despite longer uploads being possible through some routes. Exporting a two-minute Reel is not necessarily invalid, but it is a different editorial decision from producing a short-form Reel. [2][3]
TikTok’s limits depend on how the file arrives. App recording is limited to 10 minutes, while web uploads can reach 60 minutes. Mobile uploads have a 287.6 MB limit, compared with 4 GB through web upload. [5]
This matters when a producer sends a 12-minute TikTok brief and an editor exports for phone upload by reflex. The fix is not to crush the bitrate until the file fits. Use web upload if the duration and file size require it. [5]
No equivalent maximum YouTube upload file size was established in the research available here. Do not invent a limit from an old blog post or assume TikTok’s ceiling applies. Check YouTube’s current upload interface or support documentation before a very large delivery.
Run a final platform checklist, not a vague “looks good” review
Before upload, inspect the file in a media-information panel. Confirm MP4 container, H.264 video, AAC audio, correct dimensions, intended frame rate, Rec.709 tagging and the planned bitrate. This catches settings that timeline playback hides. [1][5][17]
Then watch the complete file on a phone-sized screen. Check that vertical crops retain faces, captions remain readable, logos are central enough to survive interface overlays, and the first frame does not reveal an unwanted flash or black frame. [2][4][11]
Finally, name files so the destination is obvious: project_platform_aspect_ratio_fps_version. A filename such as campaign_tiktok_9x16_30_v03 is less glamorous than “final_final,” but it prevents the wrong 16:9 YouTube render reaching a vertical upload queue.
Frequently Asked Questions
How do I export videos optimized for YouTube, Instagram, and TikTok?
Export a separate MP4/H.264 file for each platform because their aspect ratios, frame rates, bitrates, and duration limits differ. Use Rec.709 color space and AAC audio consistently, and always export from original media or high-quality transcodes rather than proxies to maintain quality. For YouTube, match the source resolution and frame rate, while for Instagram Reels and TikTok, use 30 fps unless fast motion justifies 60 fps.
Should I export separate files for each social media platform?
Yes. Each platform requires different deliverables due to varying aspect ratios, frame rates, bitrate limits, and duration restrictions. Creating distinct exports for YouTube, Instagram Reels, TikTok, and others prevents cropping or quality issues that arise from using a single “social” file everywhere.
What frame rate and resolution should I use for Instagram Reels?
Instagram Reels should be exported at 1080×1920 pixels with a 9:16 aspect ratio and a frame rate of 30 fps. This matches the platform’s standard and helps maintain optimal playback quality and engagement.
How do I avoid quality loss when exporting videos for multiple platforms?
Avoid repeatedly exporting and reimporting the same compressed file; instead, create a clean master timeline and generate platform-specific versions from it. Also, ensure you export from original camera media or high-quality transcodes rather than low-quality proxies, and keep consistent color space (Rec.709) and audio settings (AAC) throughout.
How we researched this
This article was assembled from 19 cited references.
Nothing here is based on hands-on testing. Where a figure or finding appears, it belongs to the source cited beside it, and the writing says so rather than implying otherwise. Every source is listed below so you can check it.
Sources
- Best Export Settings for YouTube in 2026 (Clear, Simple Defaults) - AutoVidtor Blog
- Instagram Reels Size & Dimensions 2026 | Limelight | Limelight
- Instagram Reels Video Specs (2026-05-15)
- Best Instagram Reels Export Settings in 2026 - Media Spec Lab
- TikTok Video Size and Length Limits: Full Specs | Motion Casts
- Facebook Video Format, Size, and Specs: Complete 2026 Guide | VideoConvert
- 11 Mistakes When Sending Review Cuts and Final Exports (Video Editors) - Lets Send
- 10 Video Editing Mistakes to Avoid in 2026 (And How to Fix Them)
- Why Your Edits Look Amateur, And How to Fix Them
- Video Editor FAQ: Common Questions and Answers (2026) | Ranked Video Editors
- Vertical Video Export Settings: Optimal Formats for TikTok, Reels, and Shorts | Conbersa
- Color Grading Social Media Clips: A Creator’s 2026 Guide – Kudoflix Video Editing
- How to Export Video for Every Platform in 2026 — Zaptool
- Best Video Editing Settings for Facebook in 2026
- Best Video Export Settings for Social Media
- Export Video for Social Media: 2026 Platform Guide
- Video Deliverable Formats: A Professional Workflow Guide | Kinter Media
- Video Export Settings Guide - Fabric — the AI workspace that thinks with you
- Export video for social media and mobile devices | Premiere
Related Articles
Edit Video for Social Media: Tips on Formats, Length & Color
Learn how to edit video for social media with tips on formats, length, proxies, and color grading for optimal engagement and platform compatibility.
Best Video Editing Apps for Mobile
Compare the best video editing apps for mobile in 2026, focusing on CapCut and LumaFusion features, workflows, and performance tips.
Best Video Editing Settings for Facebook in 2026
Learn the best video editing settings for Facebook including aspect ratios, codecs, proxies, and color grading to optimize your videos for 2026.
Common Mistakes in Video Editing
Learn common mistakes in video editing including timeline setup, frame rate mismatches, and timecode errors to improve your post-production workflow.