
Video Editing Delivery Specifications: Avoid Setup Mistakes
Learn how video editing delivery specifications prevent common setup errors and improve proxies, frame rates, color, and export workflows.
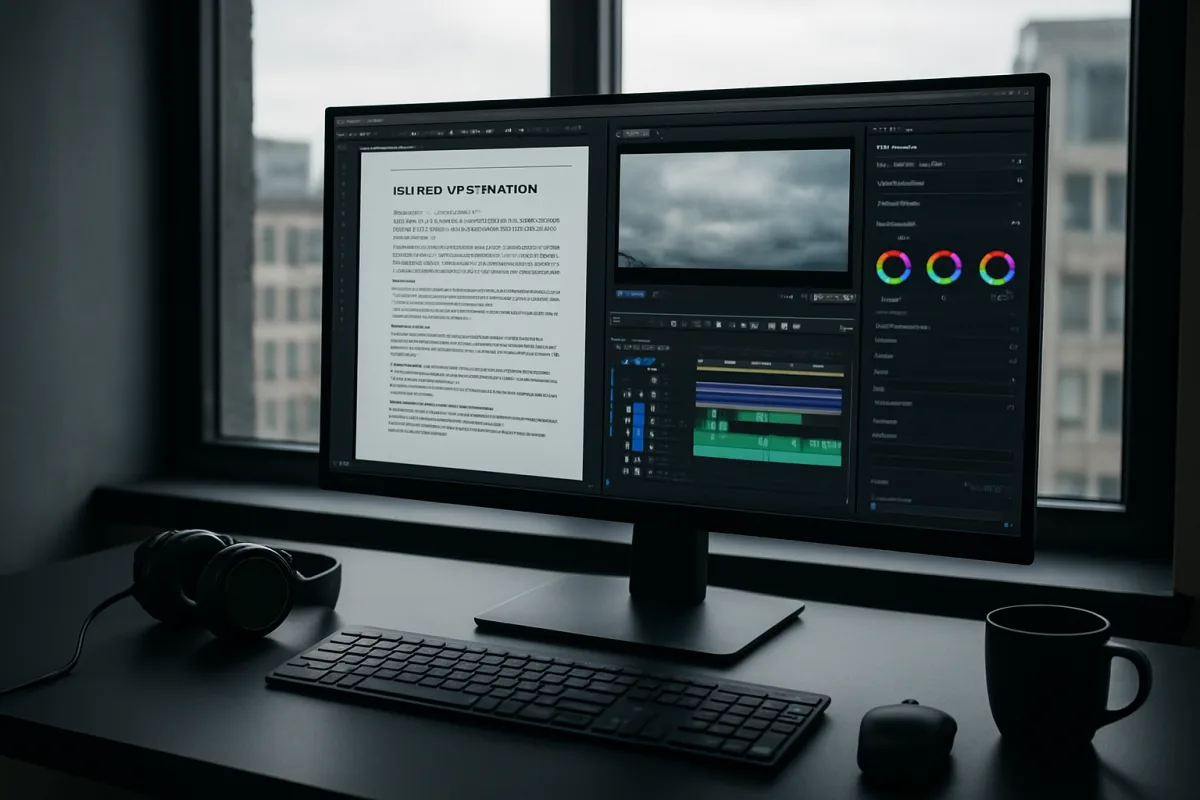
The delivery specification is the edit’s control center
The timeline is playing at half speed, the client wants a vertical social cut, and someone has dropped a new camera card onto the shared drive. That is when small setup mistakes become expensive.
We would start with a delivery specification, a short document that defines what the finished file must be before you organize media or build a sequence. It connects the edit, proxy, color, sound, and export decisions that otherwise drift apart.
The recurring mistakes on editing projects are familiar: weak planning, slow intros, excessive effects, poor audio, inconsistent lighting, weak storytelling, too much text, skipped rough cuts, incorrect export settings, and neglected color grading. Those problems are often treated as separate failures, but they frequently begin with an unclear finish line. [2][3][4]
A delivery specification does not make a weak story stronger by itself. It does stop the technical system from fighting the story while you are trying to cut it.
Write down the intended aspect ratio, resolution, frame rate, master codec, platform version, audio format, color pipeline, and approval version. Add who signs off on picture, color, audio, graphics, and delivery.
This is not bureaucracy for its own sake. It tells you whether a 4K 23.976 fps Rec.709 master needs one timeline, whether a 9:16 TikTok version needs another, and whether HDR is part of the job at all.
Start with frame rate, resolution, and the real destination
Frame rate is one of the first settings to settle because it affects camera media, proxies, sequence setup, graphics, motion effects, and delivery. Changing it late can create duplicate frames, uneven motion, or a conform that no longer matches the editorial timeline.
Keep proxy files at the original frame rate and preserve matching filenames and timecode. Those links are what allow the NLE to reconnect proxy edits to the camera originals without turning every shot into a manual search. [9]
Resolution is a separate decision. A 4K source project may still need a 1080p online deliverable, but you need to know whether the extra pixels are for reframing, VFX, a 4K master, or simply because the camera recorded them.
For 4K source, 1080p proxies are a common half-resolution target. For 6K or 8K footage, or an older editing workstation, 960 by 540 quarter-resolution proxies can reduce decode load further. [9][10]
Do not treat platform advice as a universal master format. TikTok calls for 1080 by 1920 vertical video and supports 23 to 60 fps, while YouTube accepts files up to 256 GB and guidance lists 8 to 68 Mbps video bitrate depending on resolution and frame rate. [19][20]
Those are delivery constraints, not a reason to set every timeline to the same format. A horizontal 16:9 interview can need a separate vertical reframe, larger captions, and different graphic placement for TikTok.
Netflix supports delivery up to 8K, but its exact bitrate and file-size requirements are not publicly disclosed. Do not invent a target based on a YouTube preset when the destination has its own delivery process. [18]
Regional broadcast requirements can override the codec you would otherwise choose. US ATSC 3.0 requires HEVC for 4K broadcast, while Brazil’s DTV+ uses VVC with LCEVC. [17][18]
We would put the destination and technical requirements in the project name, folder notes, and sequence notes. “Campaign_4K_2398_Rec709” is harder to misunderstand than “Final_Final_UseThis.”
Proxies solve decode pressure, not workflow disorder
A proxy is a lighter stand-in for the original camera file. Your NLE edits the proxy for responsive playback, then reconnects to the original media for color, finishing, and export.
This helps when high-resolution, long-GOP, or computationally difficult media makes scrubbing and multicam playback sluggish. It does not repair missing media, mismatched frame rates, confusing track layouts, or an editor cutting from an unapproved script.
Choose proxy resolution before codec. If a 4K interview has modest reframing needs and your system is reasonably current, 1080p proxies can keep text and focus cues legible while reducing the load. [9]
For 6K and 8K source, 960 by 540 proxies can be the better call when the workstation is older or the project has many camera angles. You are optimizing editorial responsiveness, not making a client-facing master. [9][10]
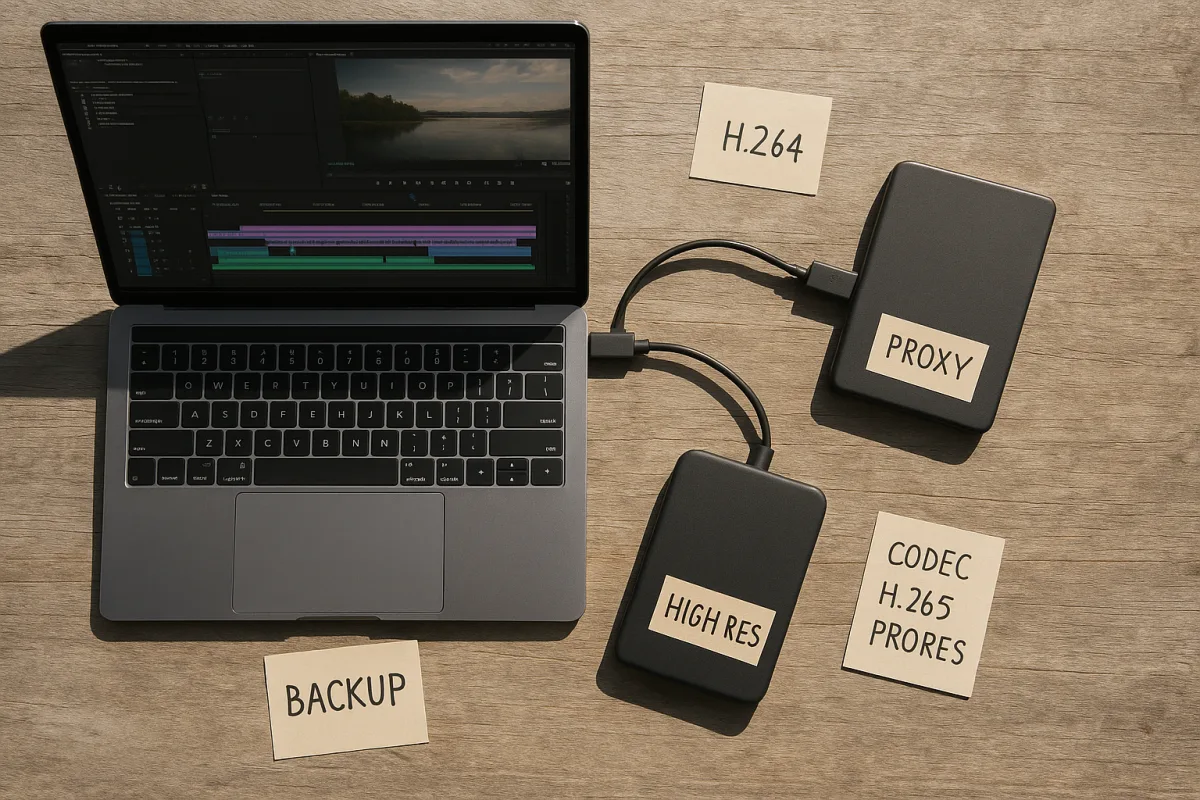
Codec selection depends on the operating system, hardware, storage, and handoff method. On macOS, ProRes 422 Proxy is a common choice, while Windows workflows commonly favor DNxHR LB. [9][11]
At 1080p, ProRes 422 Proxy runs around 36 to 40 Mbps, and DNxHR LB around 43 Mbps. Those are working benchmarks, not promises of identical performance on every computer or storage volume. [9]
H.264 proxies can be around 10 Mbps at 720p and may help when cloud transfers or storage limits are tight. They are generally less efficient for editing than intraframe proxy codecs, so we would use them when file size or cloud workflow makes that compromise necessary. [9][10]
The first proxy fix we would try is not lowering quality blindly. Check that proxy and original clips share filenames, timecode, frame rate, and a clear folder structure, then generate a short batch and test switching between proxy and full-resolution playback.
A proxy workflow has a cost. It takes storage, encoding time, verification, and a relinking step, so it is not automatically right for short projects with light 1080p media.
It earns its place when it prevents repeated playback stalls across a long edit, multicam sequence, or remote review cycle. No published benchmark gives a dependable universal time saving because source codecs, effects, storage, and hardware vary too much.
Organize the timeline so it can survive notes
A clean timeline is another part of the delivery specification. It lets another editor, assistant, colorist, or mixer identify what each track contains without decoding your habits at 2 a.m.
Color-code clips by purpose or status: interview, B-roll, graphics, music, sound effects, approved shots, and shots awaiting replacement. Use markers for legal notes, client notes, music changes, color fixes, and graphics timing. [14][15]
Track locking matters when a cut has reached an approval stage. Lock dialogue and approved graphics tracks before reshaping B-roll, so a trim does not shift a lower third, a sound effect, or an approved line of narration. [14]
Skipping a rough cut is a common editing mistake because it hides structural problems under transitions, music, and color. A rough cut should answer whether the story works before you spend time on polish. [3][4][5]
Slow intros, excessive effects, and overlong text often come from the same issue: the timeline has not established what information the viewer needs first. Cut for the intended viewer, then add effects only where they clarify a transition, location, time change, or point of emphasis.
Adobe Premiere Pro includes text-based editing, which can speed the first pass through dialogue-driven material. Its Film Impact effects are another option for transitions, but effects should follow a locked editorial intention, not substitute for one. [16]
For reviews and distributed work, Adobe Frame.io can integrate with LucidLink workflows. Crayotter is designed for traceable multi-agent workflows, with an emphasis on documenting how long-form editing tasks move through a process. [1][16]
Those tools cannot decide which client note wins. Your versioning rules do that.
Version control is how you avoid destroying an approved cut
Use incremental saves instead of overwriting one project file all day. “Edit_v07,” “Edit_v08_client-notes,” and “Edit_v09_picture-lock” tell you what changed and preserve a route back when a note reverses. [15]
Keep project files, media, graphics, exports, and documents in predictable folders. A 3-2-1 backup approach means three copies of the data, on two storage types, with one copy offsite. [15]
Make a separate export folder for review versions and include the version number in the filename. If a producer sends timecoded notes against “v12,” you need to know exactly which timeline and export they watched.
This prevents a painful common failure: cutting new notes into a timeline that already contains later revisions, then being unable to recreate the approved version. The cost is usually not disk space. It is lost certainty.
Color needs a declared viewing standard
Color grading fails early when the monitor, sequence, and export assume different color standards. You can make technically incorrect images look convincing on an uncalibrated display, then discover crushed blacks or shifted skin tones elsewhere.
For SDR work, the stated target is Rec.709, D65 white point, 100 nits, and gamma 2.4. HDR uses a different system, commonly P3 or Rec.2020 with D65, 1000 nits, and the ST.2084 EOTF. [12][13][23]
Do not grade HDR using an SDR target with brighter sliders. HDR’s luminance range, color gamut, and transfer function change what the values mean.
Document the color space, display calibration, LUTs, and output color space for each project. That record helps the colorist, finishing editor, and anyone reopening the project understand whether a LUT was a viewing transform, a creative look, or both. [13]
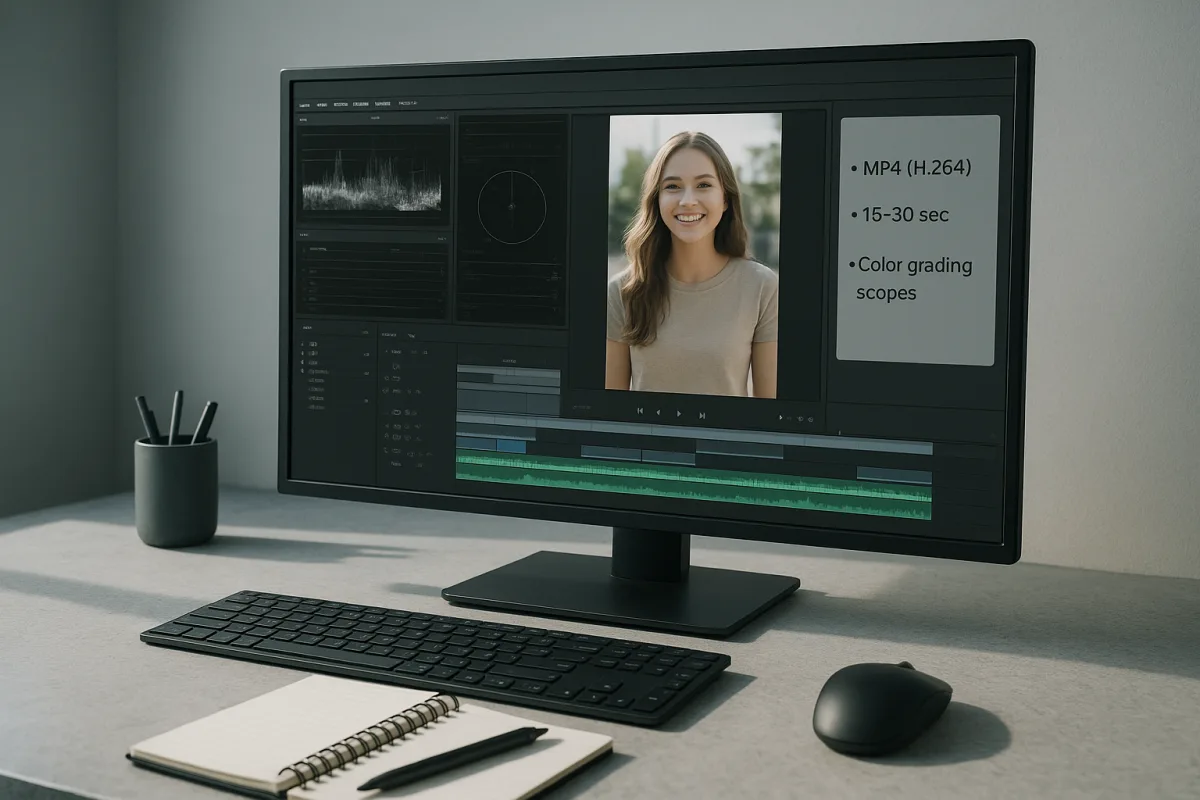
Use scopes, not only your eye. A waveform can show luminance clipping, an RGB parade can reveal channel imbalance, a vectorscope can expose saturation and hue shifts, and per-channel histograms can help identify clipping and banding. [23]
Color grading is among the repeatedly cited editing failures because it often gets left until the deadline. [4][5] We would correct obvious exposure and white-balance problems early enough that editorial decisions are not being made against misleading footage.
Test the export before the deadline does it for you
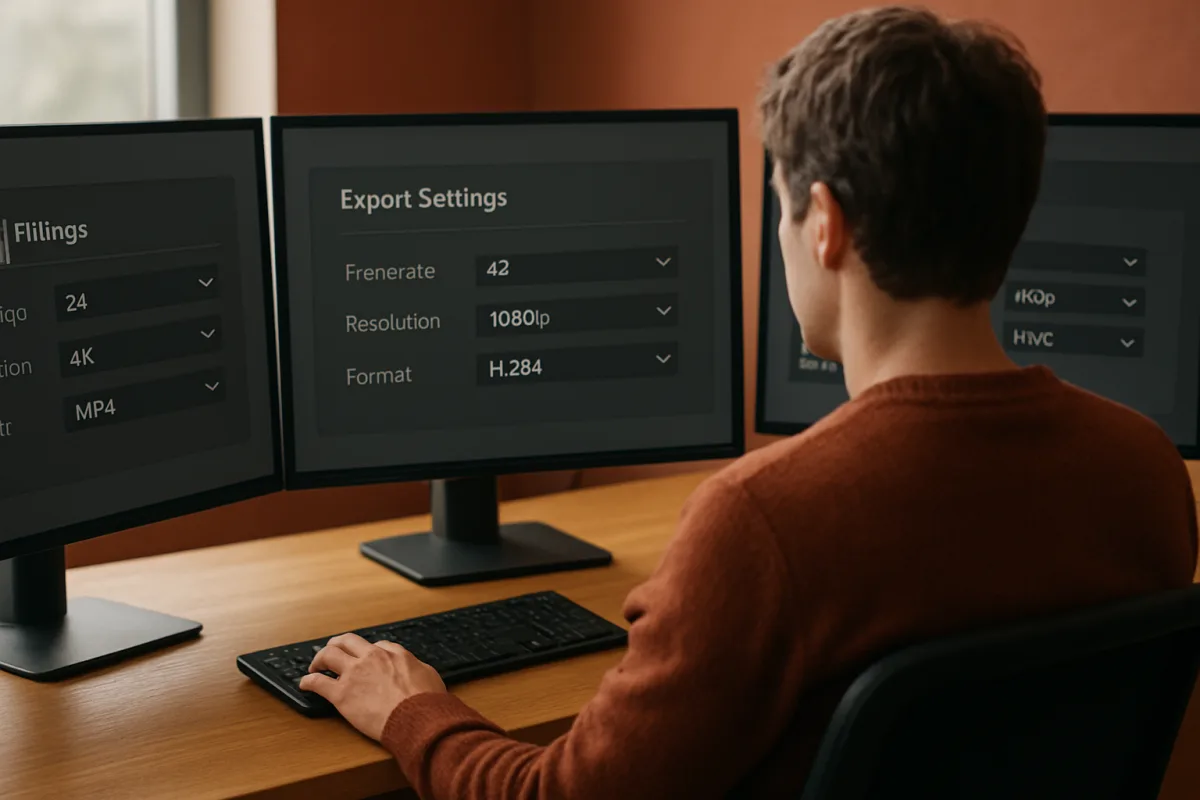
Export settings are where every earlier decision meets the real world. The codec, frame rate, frame size, color tagging, bitrate, audio settings, captions, and platform limits all need to match the delivery specification.
Streaming platforms support H.264, HEVC, and AV1, with frame rates up to 60 fps. AV1 has significant adoption, accounting for about 30 percent of Netflix streams and over 75 percent of watch time on Meta platforms. [18]
That adoption does not mean AV1 is automatically the right editing or master codec for every job. Match the codec to the platform, regional requirement, delivery partner, and the tools available in your finishing workflow.
Run a short test export from a difficult section: fast movement, gradients, titles, mixed lighting, effects, and dense audio. Upload it or inspect it in the target playback environment before exporting the full program.
There is no dependable average render time for 4K or 8K projects. It varies with codec, timeline effects, GPU and CPU hardware, storage speed, resolution, and export settings. [21][22]
That is why we would never promise an export time based on someone else’s workstation. Test your own project early, then leave time for correction, re-export, upload, and review.
Frequently Asked Questions
What is a delivery specification in video editing?
A delivery specification is a short document that defines the finished file requirements before organizing media or building a sequence. It includes details like aspect ratio, resolution, frame rate, master codec, platform version, audio format, and color pipeline. This document aligns the edit, proxy, color, sound, and export decisions to prevent technical issues during editing and delivery.
How do delivery specifications prevent editing mistakes?
Delivery specifications provide a clear finish line that stops technical mismatches from interfering with the storytelling process. By defining key parameters upfront, they prevent common errors such as incorrect export settings, mismatched frame rates, and inconsistent color grading. This reduces costly rework and confusion during the editing process.
When should proxies be used in video editing workflows?
Proxies should be used to improve playback responsiveness and reduce decode pressure when working with high-resolution or computationally demanding media. They are not a solution for fixing disorganized timelines, missing media, or incorrect export presets. Proxy resolution should be chosen based on source footage and hardware capabilities, such as 1080p proxies for 4K footage or 960 by 540 for 6K/8K footage on older systems.
How to choose the right frame rate and resolution for a project?
Frame rate should be settled early as it affects camera media, proxies, sequence setup, graphics, and delivery. Resolution decisions depend on the source footage and final deliverable needs, such as whether extra pixels are for reframing, VFX, or a 4K master. Delivery platform requirements and destination formats should guide these choices, and it is important to document them clearly in project notes to avoid confusion.
Why is color calibration important for SDR and HDR editing?
SDR and HDR require different calibration standards because they use distinct color spaces, luminance targets, and transfer functions. SDR typically uses Rec.709 at 100 nits and gamma 2.4, while HDR requires wider gamuts like P3 or Rec.2020 at 1000 nits with ST.2084. Treating SDR calibration as HDR or vice versa leads to inaccurate color grading and monitoring.
How we researched this
This article was assembled from 23 cited references.
Nothing here is based on hands-on testing. Where a figure or finding appears, it belongs to the source cited beside it, and the writing says so rather than implying otherwise. Every source is listed below so you can check it.
Sources
- Crayotter: Traceable Multi-Agent Workflows for Long-Form Video Editing
- Video Editing Tips: 10 Beginner Mistakes to Avoid | Creator Academy
- Common Video Editing Mistakes and Fixes | FullVideoTools
- Top 10 Common Video Editing Mistakes to Avoid in 2026 | MonkyVision
- 10 Video Editing Mistakes to Avoid in 2026 (And How to Fix Them)
- 8 Common Video Editing Mistakes (Pros Always Avoid in 2026)
- 15 Video Editing Mistakes Beginners Make (and How to Fix Them)
- 15 Common Video Editing Mistakes (and Fixes) | ShotFlick
- Proxy Workflow: Formats, Sizes and Relinking | CineMath
- Proxy Workflows: What They Fix (and What They Don’t) - The Post Flow
- What Are Proxies in Video Editing, and When Should You Use Them?
- The best monitor calibrators in 2026: keep your on-screen colors accurate
- How Color Grading Projects Document Monitor and Output Color Spaces | ONCE - ONCE
- The Ultimate Guide to Using a Video Timeline Like a Pro
- Organizing a Video Editing Project and Its Files | Thebes Guide
- The Best Video Editing Software We've Tested for 2026
- Video Codecs Explained for Non-Editors | Remote Video Editing Agency | Color Grading | Editorial | Post Production | Motion Graphic | Animation
- Best Video Codec for Streaming in 2026: A Decision Tree
- Video Bitrate for YouTube, Instagram and TikTok (2026)
- TikTok video length, size and format limits (2026) - Postminion
- 4K/8K Video Editing Workstation: The Complete Spec Guide
- Dedicated Server for Video Editing & Rendering | WebsNP
- Display Color Calibration
Related Articles
Export Video for Different Platforms: Best Settings Guide
Learn how to export video for different platforms with optimal settings for frame rate, resolution, color, and format to ensure quality delivery.
Documentary Video Editing Techniques
Learn documentary video editing techniques including proxy workflows, timeline settings, codecs, and color grading for smoother, high-quality edits.
Edit Video for Social Media: Tips on Formats, Length & Color
Learn how to edit video for social media with tips on formats, length, proxies, and color grading for optimal engagement and platform compatibility.
Edit Video for Promotional Content
Learn how to edit video for promotional content with tips on timelines, proxies, captions, and platform-specific formats for effective marketing videos.